
Boar's Back Map & Walkthrough for The Blood of Dawnwalker
Uncovered and annotated Boar's Back Map for The Blood of Dawnwalker features a recommended exploration order and a walkthrough covering quests, secrets, puzzles, and key locations. Boar's Back is where the Manumits rebels hide out. Here you will find the cave where Brencis laid low while planning his invasion of Vale Sangora, and you get to complete favors for the mysterious Sanzhani. Most importantly, this is where you take the fight to Bakir soldiers and his distilleries.

Shadows in the Woods
Your first trip to Boar's Back happens when you cross over from Briar Sloughs for the "Shadows in the Woods" story quest. This is not the time for sightseeing. The enemies here sit between levels 25 and 30. Just finish the quest and head back to the earlier regions.
01 Bridge near Stoneward Post
Here you will find directions to the meeting point for the "Shadows in the Woods" quest.
Shadows in the Woods Quest Walkthrough
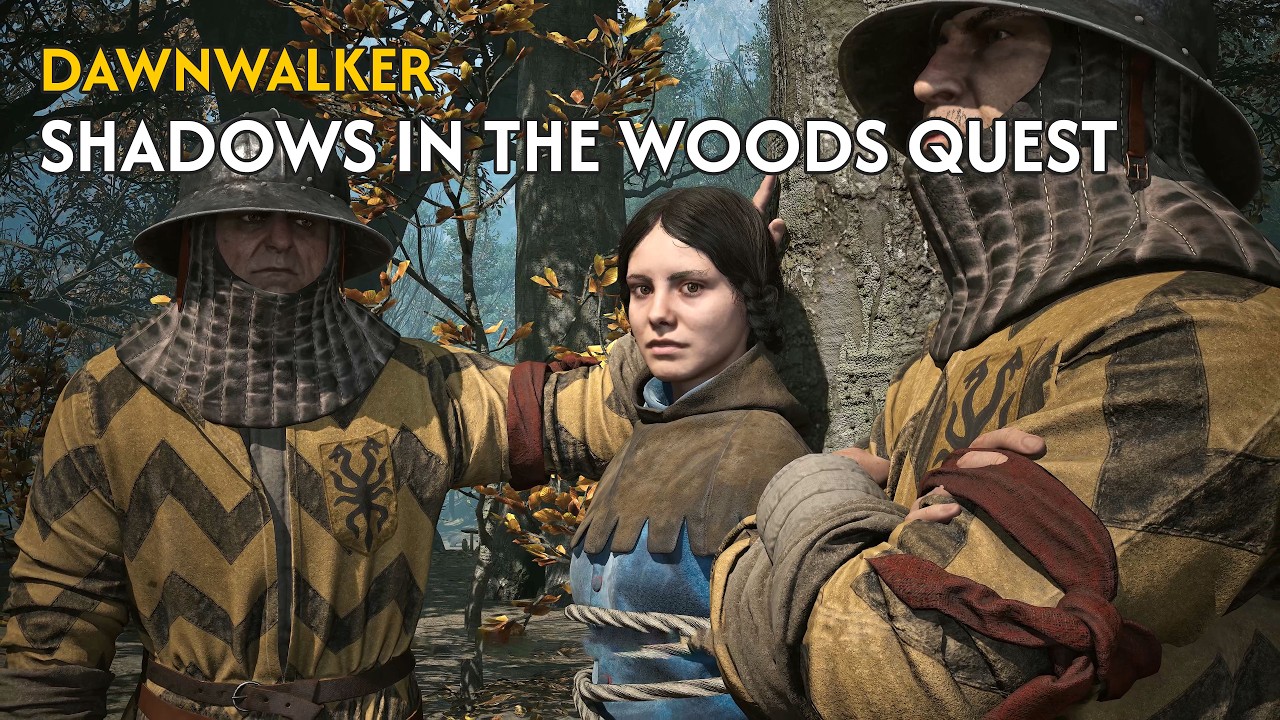
Rescue Sara and follow her to the rebel camp to meet Crake.
02 Meeting Sara
This is where you meet Sara. It serves as the meeting point for the "Shadows in the Woods" quest.
Bribe the soldiers to free her by picking [That girl is my sister.] and [Not sure. Maybe these coins hold an answer? (100)].
NPC: Sara (Rebel)

Once you free Sara from the soldiers, she will guide you back to Crake's camp.
Sara is with the manumits. She's young - some might say, too young to risk her life like this. But if you asked her, I bet she'd say she's exactly where she wants to be.
TYPE: Mortal
Then follow her to Rebel Camp.
03 Rebel Camp
Sara leads you to this location to meet with Crake, the rebel leader for "Shadows in the Woods" quest.
You meet Crake, and fail to convince him of your good intentions.
NPC: Crake (Rebel Leader)

Crake is the mysterious and desperate leader of the human Rebellion. His real name is Marat, and he is the only male romance option available in Dawnwalker. He is also one of the potential allies you can recruit for the fight against Brencis.
The manumits have many secrets, and their leader's identity is one of the best kept ones. But, after quite a lot of effort, I managed to find him - even though he'd probably say he let himself be found.
And, though he pretends otherwise, he seems desperate. He's running a tight ship, but also a sinking one. The manumits are outnumbered, hunted down without mercy ... I could help them, and something tells me Crake already knows that.
TYPE: Mortal
Next quest "Where Loyalty Lies" will start.
Where Loyalty Lies Quest WalkthroughOnce the conversation wraps up, head back to Briar Sloughs to clear out your remaining activities.
Scout Boar's Back
Now we can finally start exploring Boar's Back. Your first stop should be Boar's Back Tower to get a solid read on the area. The only downside is that the tower sits at the very southern edge of the region. Stick to the eastern road to reach it and ignore any other distractions along the way for now.
04 Boar's Back Tower
The area around the tower is a grim reminder of the last failed Manumits uprising. Climb to the top to scout your surroundings, and make sure to loot the Manual from the chest.
Bakir's Headhunters and Distilleries
Bakir, another of Brencis's vrakhir boyars, runs Boar's Back. Your main goal here is to destroy his camps and distilleries to force a direct showdown with him.
05 Bakir's Headhunters
Kill Bakir's soldiers in the camp.
Bakir's Headhunters: Silent to the Grave - 3 Time Segments

Pick up Interrogation Instrument and Manumit's Bandana and use them in Compel Soul on Rebel body.
Bakir's Headhunters: Secret Stash - 3 Time Segments
Jump down the well and find the Manumits Stash.
06 Vasil
You run into your old friend Vasil. Bakir's soldiers have him locked up and are taking turns mocking him. Kill the guards, free Vasil, and talk to him.
Bakir's Pillories: Familiar Face - 3 Time Segments
Watch out if you do this at night. Right after your conversation, Vasil will blindly attack you because of your vampire form. To avoid killing him, just run away. A better option is to tackle this quest during the day.
07 Bakir's Distillery
Kill the enemies and destroy the distillery. Pick up and read the documents (Letter of Encouragement) to learn the locations of the other Bakir's Workshops.
You have a choice to make here. You can either smash the distillery outright or speak to the Distillery Worker and poison the alcohol. Destroying the facility is the better call. Poisoning the locals is just a bad move.
Bakir's Distilleries: Ends and Means - 3 Time Segments
The Beast of Balaur
"The Beast of Balaur" is the biggest side quest to tackle in Boar's Back. While it starts as a simple job to hunt down the monster haunting Mount Balaur and rescue a missing man named Iancu, things go much deeper. This quest actually leads you right into Brencis's old hideout where he drafted his invasion plans for Vale Sangora.
08 Ciprian
You need to start this quest at night. Head inside the cabin in the center of Parlita and talk to Ciprian to get things rolling.
The Beast of Balaur Quest WalkthroughYou need to track down Iancu, who went missing during an expedition up the dark mountain. Inside the cave, you will find his corpse and face off against the titular monster, The Beast of Balaur.
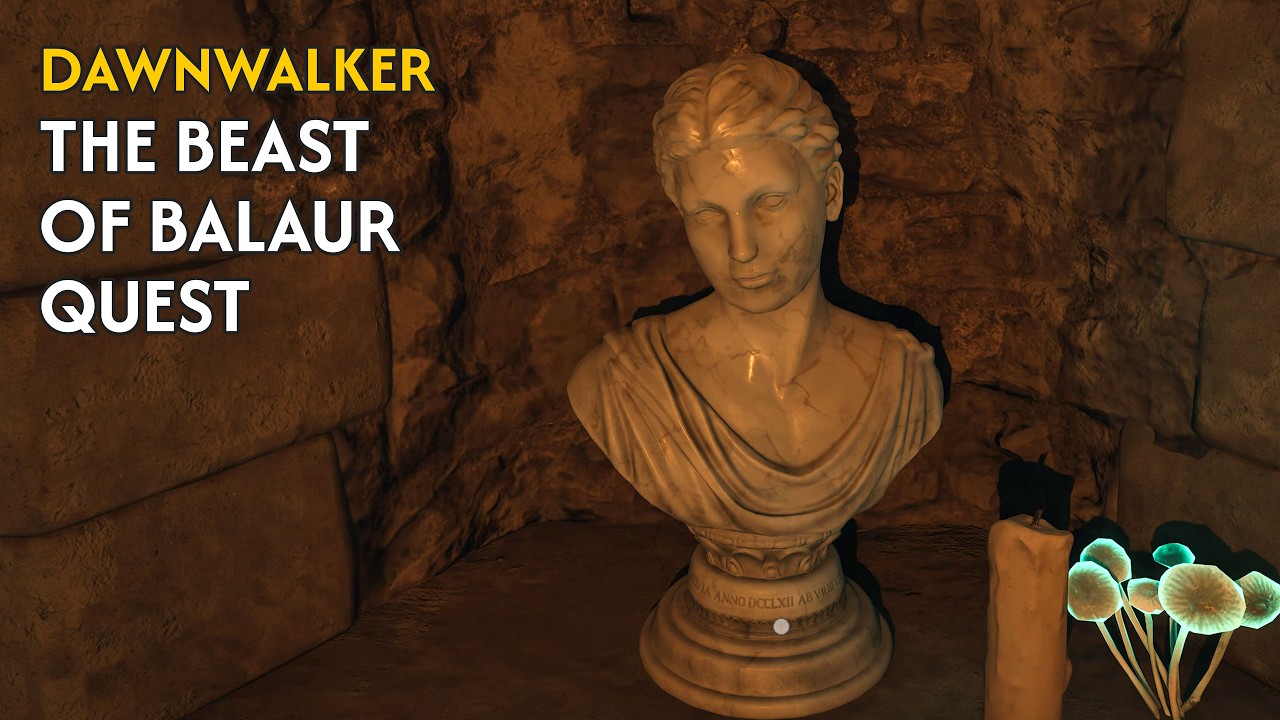
Discover the cave where Brencis hid before his invasion of Vale Sangora.
09 Mount Balaur
This location is for "The Beast of Balaur" Quest.
Climb up the valley at the base of Mount Balaur and search for the cave. Along the way, you will spot a set of crosses. These act as an alternate starting point for "The Beast of Balaur" quest.
10 Beast of Balaur Cave
This location is for "The Beast of Balaur" Quest.
- Head inside the cave.
- Check the remains scattered across the ground.
- Kill The Beast of Balaur.
- Locate Iancu's body and inspect it (3 Time Segments).
- Read A Letter to Iancu and grab the loot.
Now you need to access the second part of the cave. You can only pull this off at night by climbing up the wall.
11 Brencis's Cave
You finally tracked down the cave where Brencis planned his invasion of Vale Sangora. Search the area thoroughly to grab the following items:
- Phial of Brencis's Blood (raises your corruption level and grants the Piercing Shriek Vampiric Power)
- Gladius Legendary Shortsword
- Scribble-Covered Map (shows Brencis's invasion plans)
- Unholy Fervour Manual
- Recipe for Vrakhiri Attunement
- Isbrand's Letter
- Faded Orders
To wrap up "The Beast of Balaur" quest, head back to Parlita and speak with Ciprian. At the end of the conversation, pick [I want him to know.] to boost your Infamy.
Forge It Anew: Hostile Takeover
Head to the western edge of Boar's Back. Here you will find a cave that serves as the next stop in the Forge It Anew questline.
12 Forge It Anew Cave
Forge It Anew: Hostile Takeover Quest - 3 Time Segments
Head inside the cave. You will face a boss named Munch-Munch, who might give you some trouble depending on your difficulty setting. Take him down, inspect all the wall paintings, and grab the loot. Pick up the Sword Shard, a quest item for the "Forge It Anew: Hostile Takeover" quest.
Buried Past
Boar's Back also hosts a chunk of the "Buried Past" quest. This covers the stages where you "Retrace your steps from childhood memories" and "Look for Pieter's treasure." Before you can tackle the Boar's Back section of this quest, you need to finish the earlier objectives with Volk in St. Tyna's Grove.
Buried Past Quest Walkthrough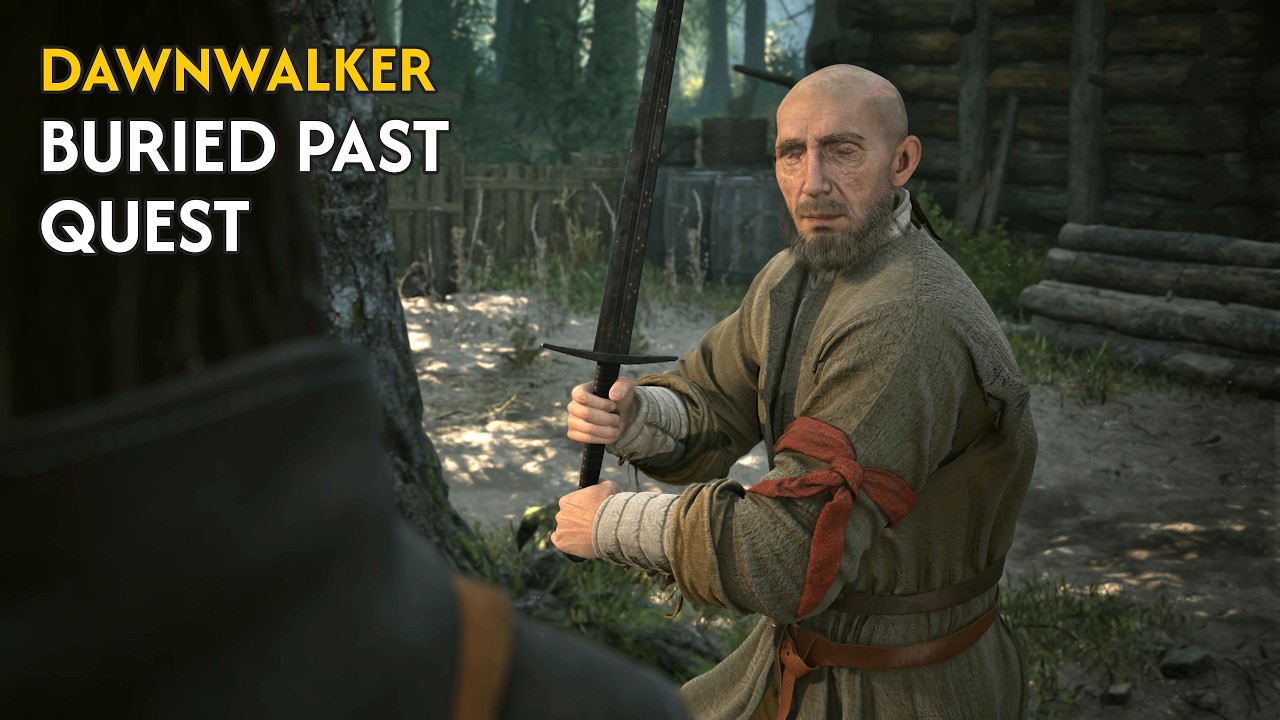
Meet the blind mercenary Volk and uncover the mystery of Pieter's past.
13 Childhood Memories
For "Buried Past" quest, stage Retrace your steps from childhood memories.
When you reach this stage of the quest, head to Parlita. Start looking for those childhood memories by following the road south.
14 Big Stones
For "Buried Past" quest, stage Retrace your steps from childhood memories.
As you head south down the road looking for those childhood memories, you will recall a line of Big Stones pointing into the woods. Follow this trail of Big Stones.
15 Pieter's treasure
For "Buried Past" quest, stage Look for Pieter's treasure.
At the end of the trail, you will find Pieter's old camp. The spot where he buried his chest is right nearby.
- Pieter's Garb armor
- Pieter's Unfinished Letter
- Prayer Book from Maragir
Treasure Map
There is a hidden bandit stash in Boar's Back. You can track it down using the Bandits's Treasure Map: Boar's Back.
16 Bandit Camp
The Bandits's Treasure Map: Boar's Back sits on some barrels in the Bandit Camp.
Bandits's Treasure Map: Boar's Back Activity Walkthrough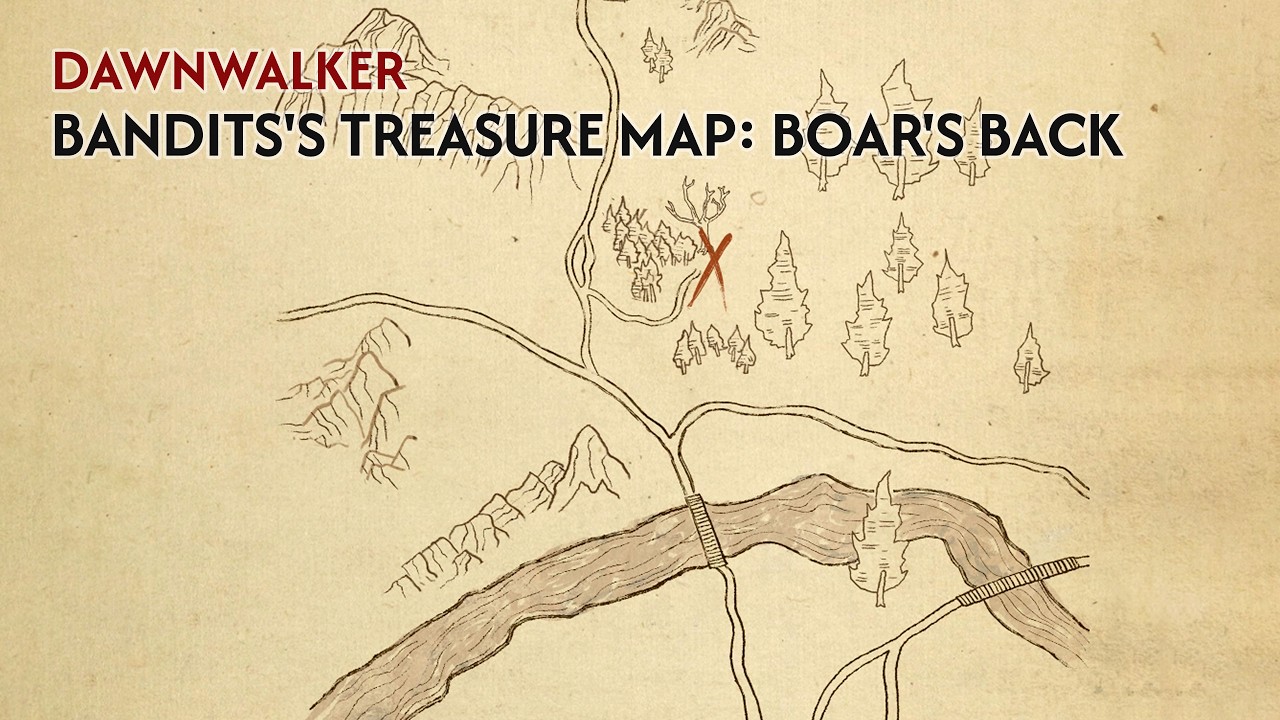
Location of Bandits's Treasure Map in Boar's Back.
17 Bandits's Treasure
Hidden Bandits's Treasure in Boar's Back
Sanzhani Questline
Boar's Back hosts two side quests that serve as favors for the Sanzhani: "Burrow Sorrows" and "Pearly and Precious". These are part of the Sanzhani Questline that begins with the "Good Home" quest in the Svartrau Outskirts.
18 Pearly and Precious
This location opens up once you finish the "Good Home" quest in the Svartrau Outskirts. It ties directly into the "Pearly and Precious" quest from the Sanzhani questline.
Pearly and Precious Quest Walkthrough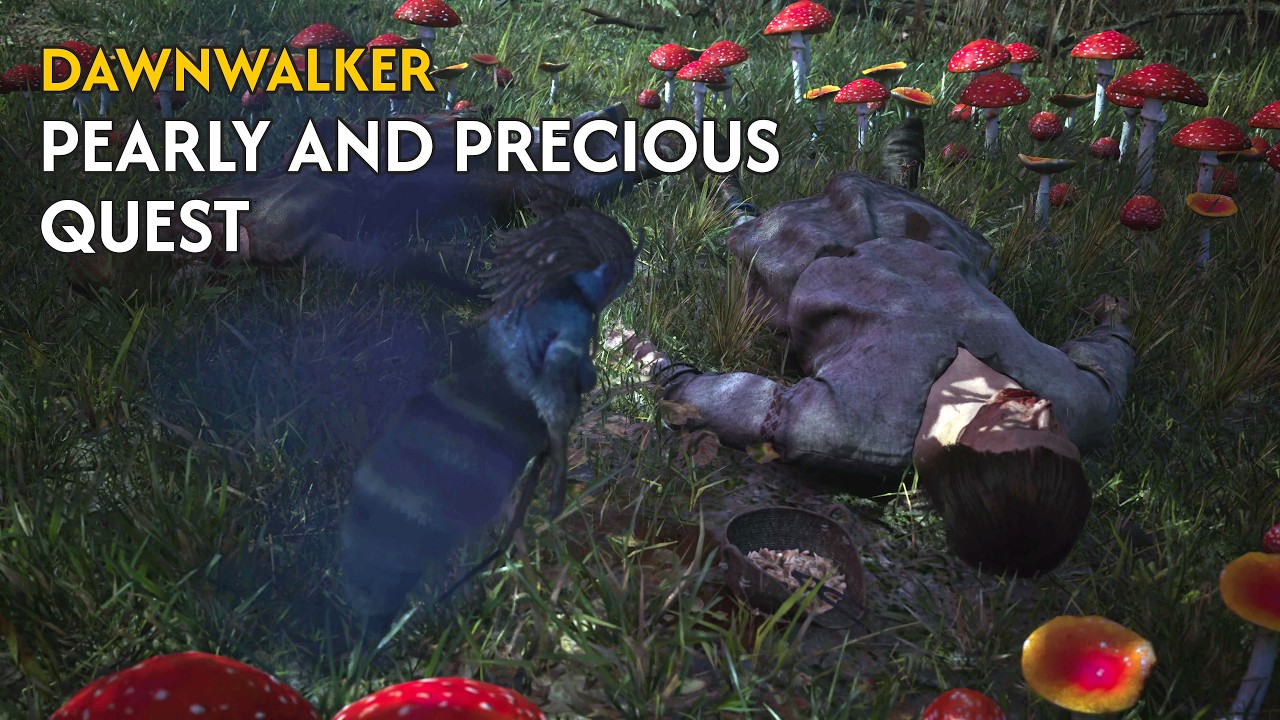
Sanzhani Questline favors quest, kill bandits who collect teeth.
- Investigate the abandoned camp.
- Tracks lead you deeper into the woods where you spot a Sanzhana pulling teeth from a corpse.
- Have a quick chat with her, then follow the trail to a nearby Tooth Thieves' Camp (19).
19 Tooth Thieves' Camp
For "Pearly and Precious" Quest.
- Kill the bandits.
- Loot the chest to find a Manual.
- Grab the Shiny Tooth from a body and bring it back to the Sanzhani (20).
20 Sanzhani Vendor
For "Pearly and Precious" Quest, here you can finish it.
After finishing the task, this specific Sanzhani turns into a Vendor who buys Shiny Tooths. More importantly, she sells the Bundle of Silk Threads you need during the "A Bulwark Against Darkness" quest to forge the legendary Arbiter Armour. Once your conversation ends, she relocates to the Yawning Burrow.
21 Burrow Sorrows
This location opens up once you finish the "Good Home" quest in the Svartrau Outskirts. It ties directly into the "Burrow Sorrows" quest from the Sanzhani questline.
Burrow Sorrows Quest Walkthrough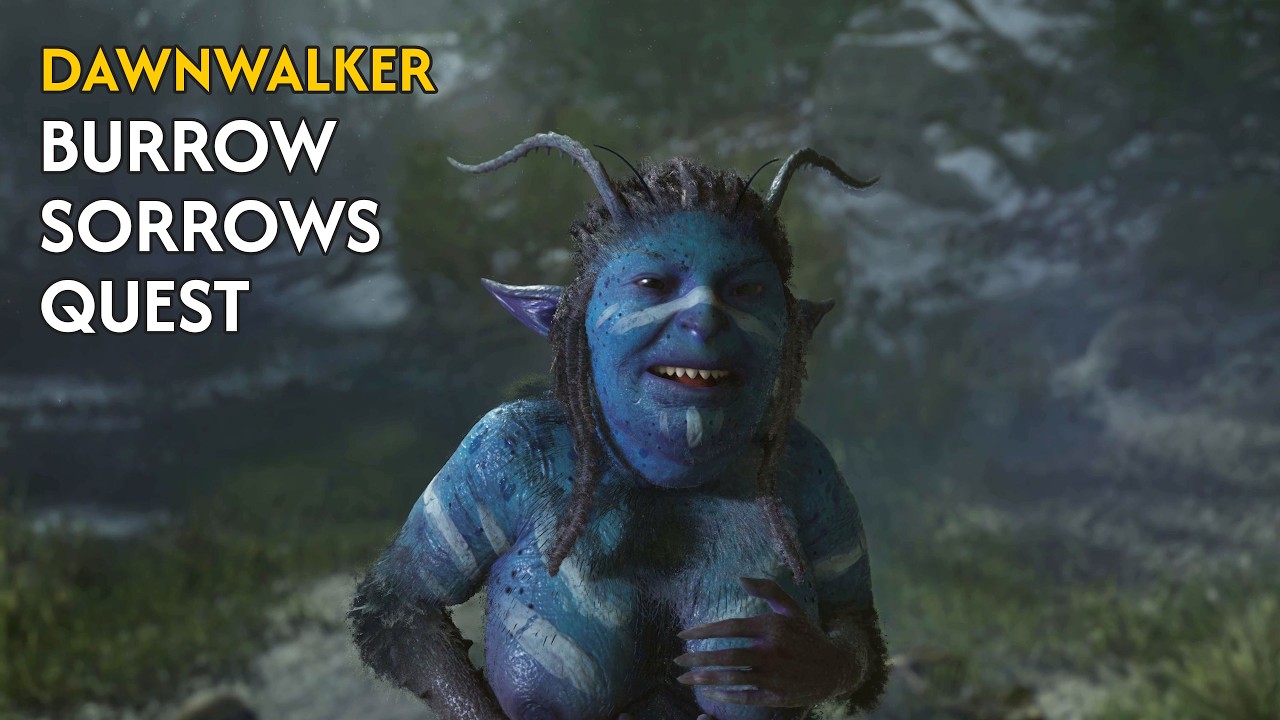
Sanzhani Questline favors quest, clear Kobold's cave and collect charm.
- Follow the curious sound.
- Talk to the Sanzhani.
- Kill the Kobolds inside the cave.
- Grab the Charm.
- Loot the chest to get the Legendary Fear of the Wilds amulet.
- Speak with the Sanzhani again to wrap up the quest.
Other Activities and Locations in Boar's Back
I recommend skipping some of the side activities in Boar's Back. If you try to clear everything, you might run out of time to save the Coen family. Just focus on the ones you actually care about.
22 Waterfall Treasure Cave - Manumit Cache
There is a loot-filled cave tucked beneath the waterfall. This spot is likely a leftover stash from the Manumit uprising, meaning it is packed with silver items. You will also find two Manuals and the Legendary Arbiter's Medallion Amulet inside.
23 Lupila Riverpass Destroyed Shrine
Destroyed Shrines: Lupila Riverpass Quest - 1 Time Segment
Quest Items Lupila Riverpass Shrine's Heart is in Soldier Camp (24)
24 Soldier Camp
Lupila Riverpass Shrine's Heart Quest Item and Manual.
25 Boarback Trail Destroyed Shrine
Destroyed Shrines: Boarback Trail Quest - 1 Time Segment
Search woods for dead body (26)
26 Dead Body
Boarback Trail Shrine's Heart Quest Item.
27 Will-o-the-Wisp
Wisp Treasure Hunt: Drawing Place - 1 Time Segment
28 Will-o-the-Wisp Treasure
Shrines
- Borescu Commons Shrine
- Parlita Woods Shrine
- Svartrau Bridge Shrine
- Parlita Shrine
- The Wallows Shrine
- Giant's Pawns Shrine
- Mount Balaur Shrine
- Shrike's Crag Road Fork Shrine
- Shrike's Crag Shrine
- Lupila Riverpass Shrine
Ancient Circles
- Ancient Circle: East of Parlita
- Ancient Circle: The Wallows
Monster's Lairs
- Murohn's Lair - 1 Time Segment.
- Kobolds's Nest - 1 Time Segment.
- Tatzelwurm's Lair - 1 Time Segment.
Haunted Sites
- Haunted Site: Mass Grave - 1 Time Segment.
Persons in Danger
- Person in Danger - 1 Time Segment.