
The Blood of Dawnwalker Map: Briar Sloughs
Uncovered and annotated Briar Sloughs Map for The Blood of Dawnwalker features a recommended exploration order and a walkthrough covering quests, secrets, puzzles, and key locations. You head to the Briar Sloughs map to seek contact with the Manumits, aid the rebels, and attack Ambrus's forces.

Briar Sloughs Walkthrough & Map Overview
You enter the Briar Sloughs region in The Blood of Dawnwalker from Laslea Glen to track down a Rebel contact for "The Firebrand" quest.
01 Briar Sloughs Watchtower Shrine
Discover Briar Sloughs Watchtower Shrine.
Lore: Briar Sloughs
I have always avoided the nearby Briar Sloughs due to its chilling eastern swamps and the heavy military presence at Stoneward Post, but my reasons for staying away are about to change.
Briar Sloughs isn't far from my home village, Laslea, but I don't go there often. Its eastern part is mostly a swamp, which - especially at night - always gave me the chills. The western part, on the other hand, is full of Brencis's soldiers, stationed at Stoneward Post, one of the largest military camps in the valley. Either way, I've never had much need to visit those parts, other than on the way to Svartrau. But that might change now ...
02 Briar Sloughs Tower
The first thing you should do in Briar Sloughs is climb the Briar Sloughs Tower to reveal new locations to explore. The "From Above" activity from Laslea Glen leads you straight to it.
This activity is only available at night. If you arrive during the day, keep working on "The Firebrand" quest and return after dark.
Take out the soldiers guarding the area. Loot everything you can find around the base and up on the structure. You will find a Character Development Manual inside the chest at the top of the tower.
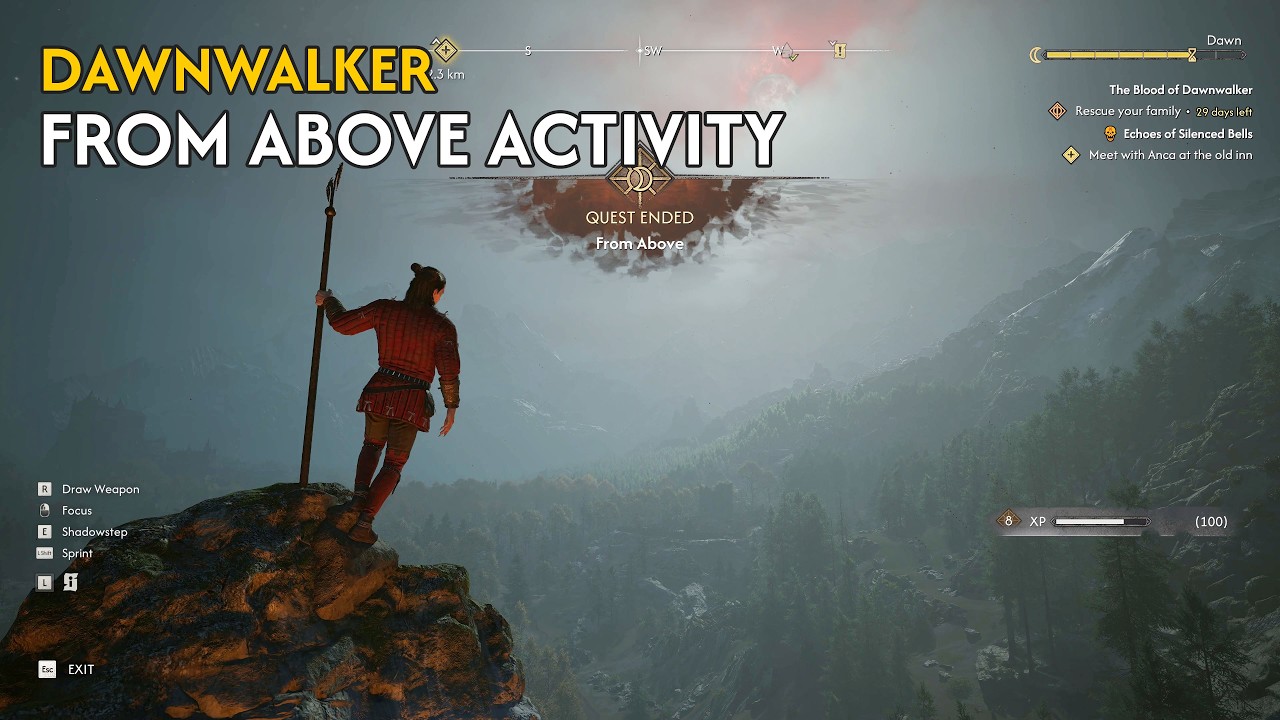
Learn how to complete the From Above activity in the Briar Sloughs region and find out how to climb the tower.
03 Sloughside Mill Shrine
Discover Sloughside Mill Shrine.
04 Mert's Mill
For "The Firebrand" quest.
Head into the yard at Mert's Mill.
- Speak with Renna. She is Mert's wife.
- Renna acts strange. She pretends to know you and says she has a job for you. Choose [All right ... Let's do it.]
- It turns out to be a trap. Soldiers are hiding in the shed waiting for rebels.
- Do not fight the soldiers. Pick the dialogue options [Soldiers, here?], [Where is Mert now?], and [Where did they take him?]
- You find out they are holding Mert at Stoneward Post. Choose [I'll do my best to save him.]
- This quest is timed. Mert will die if you do not hurry. Make your way to Stoneward Post and find him.
NPC: Renna (Mert's wife)

Renna hides you from the soldiers and sends you to Stoneward Post to find Mert.
Renna and her husband Mert own a water mill. They used to have two children, but the plague took them both. Renna works a lot - all the time, actually, and there's always more to do. It's even harder for her now, ever since Brencis's soldiers accused Mert of aiding the manumits and arrested him.
TYPE: Mortal
NPC: Mert (Smuggler)

Mert is a miller who smuggles weapons for the Manumit rebels.
Mert is a miller, and my friend Vlad's cousin. I don't know him well, but it seems he's in league with the manumits, too. Maybe he could help me contact them.
The problem is, I have to be quick about it. Mert was arrested by Brencis's soldiers and is now imprisoned in one of their outposts.
TYPE: Mortal
05 Stoneward Post
For "The Firebrand" quest.
You need to speak with Mert, who is currently locked up at Stoneward Post.
You have a few ways to handle this. You could always pick a fight with a large group of Brencis soldiers, wipe them out, and take over the camp. The game gives you plenty of chances to start a brawl since most conversations can end with an attack. That is a pretty extreme approach.
The Firebrand Quest Walkthrough
I recommend taking the peaceful route to wrap up "The Firebrand" quest. Avoid the bloodshed and focus on just talking to Mert. We can hold off on actually rescuing him until you level up and get a bit stronger.
The best time to enter Stoneward Post and speak with Mert is during the day in human form.
- Talk to the Post Guard at the gate and say [I'm here to visit a prisoner.]
- Hand over your weapons and enter the camp.
- Walk toward the prisoner tower. Stop and listen to the Angry Woman talking outside before you go in.
- Speak with the Angry Woman and choose [How do you know that?]. She tells you a local merchant is selling items stolen from the prisoners.
- Track down Trader Yenno inside the camp and talk to him.
- Sell off your junk first by choosing [SELL ALL JUNK].
- Ask him [I've heard prisoners' belongings tend to disappear.] followed by [Just tell me who's supplying you with the merchandise.]. Intimidate him with [As you wish - I'm taking this to the commander.]. He admits that Friedo and Cerbus are the thieves.
- Speak to the Post Commander. Choose [Your subordinates are stealing from prisoners.] and then [Let me speak to a prisoner.]. He grants you permission to see Mert. Head into the Prison Tower.
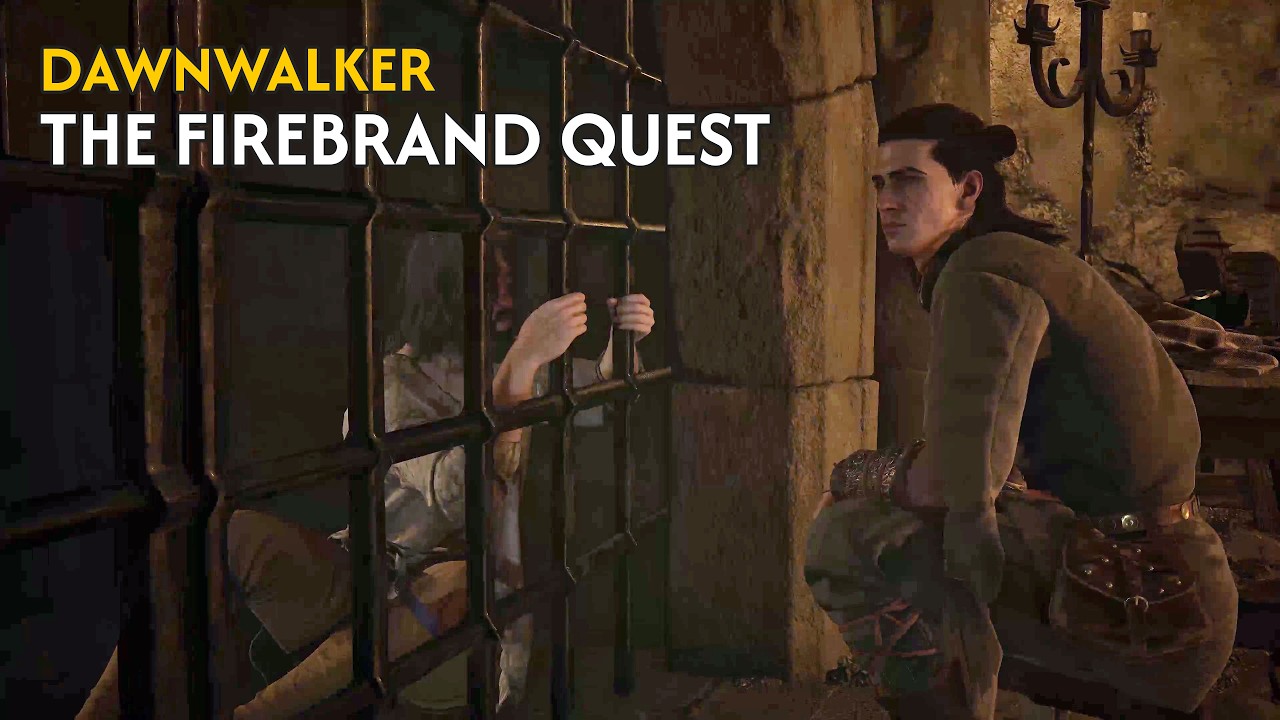
Make contact with the Rebels and find Mert the miller at the Stoneward Post prison in Briar Slough.
06 Prison Tower
For "The Firebrand" quest.
You can now enter into the Prison Tower at Stoneward Post without any trouble.
- Talk to Friedo, the overseer. The conversation goes smoothly since the Commander gave you clearance. Keep things calm and choose [It doesn't matter.]
- Head down to the jail cells.
- Talk to Mert and pick [Renna is worried sick about you.] followed by [Tell me about your ... friends.]
- Brencis's Soldier will interrupts you. Do not attack him. Just choose [Officer, he's going to be sick! (2)].
- Mert opens up once the soldier leaves and gives you more details. Pick [Where is Sara right now?] and [I'm not here to judge you.]
- We are not saving Mert right now, even though we could. Choose [I'll return for you later.]. It is better this way, we will actually come back for him at night.
- Return to the camp gate and get your weapons back from the Post Guard.
- This marks the end of "The Firebrand" quest.
Consequences of "The Firebrand" Quest
You just unlocked two new quests:
- "Shadows in the Woods" quest pushes the main story forward. You have two days to carry it out; otherwise, Sara will die.
- "Under Watchful Eyes" quest, tasks you with breaking Mert out of jail. Do this one at night, but don't wait any longer, because Mert will die.
For now, let's get back to exploring Briar Sloughs.
07 Stoneward Post Shrine
Discover Stoneward Post Shrine.
08 Klaus the Brave - Ambrus's Soldiers
You run into a camp of Ambrus's soldiers escorting a caravan of blood barrels. This is part of the "Ambrus's Transports: Roadside Surprise" Court Quest.
Ambrus's Transports: Roadside Surprise
 Ambrus's Transports: Roadside Surprise
Kill Ambrus's soldiers escorting the blood barrels and search barrels.
Roadside Surprise - Klaus the Brave Quest WalkthroughWhile looting the blood barrels, you will find Klaus the Brave hiding inside one of them. Talk to this self-proclaimed revolutionary to decide his fate:
- Encourage him to keep fighting. You will read about his heroic deeds later in the story.
- Discourage him. Klaus goes home and eventually joins Brencis's army, which you will learn about from a letter down the road.
- Drain his blood. Klaus disappears from the story completely.
Either way, this encounter is just for flavor and carries no real consequences for the main plot.
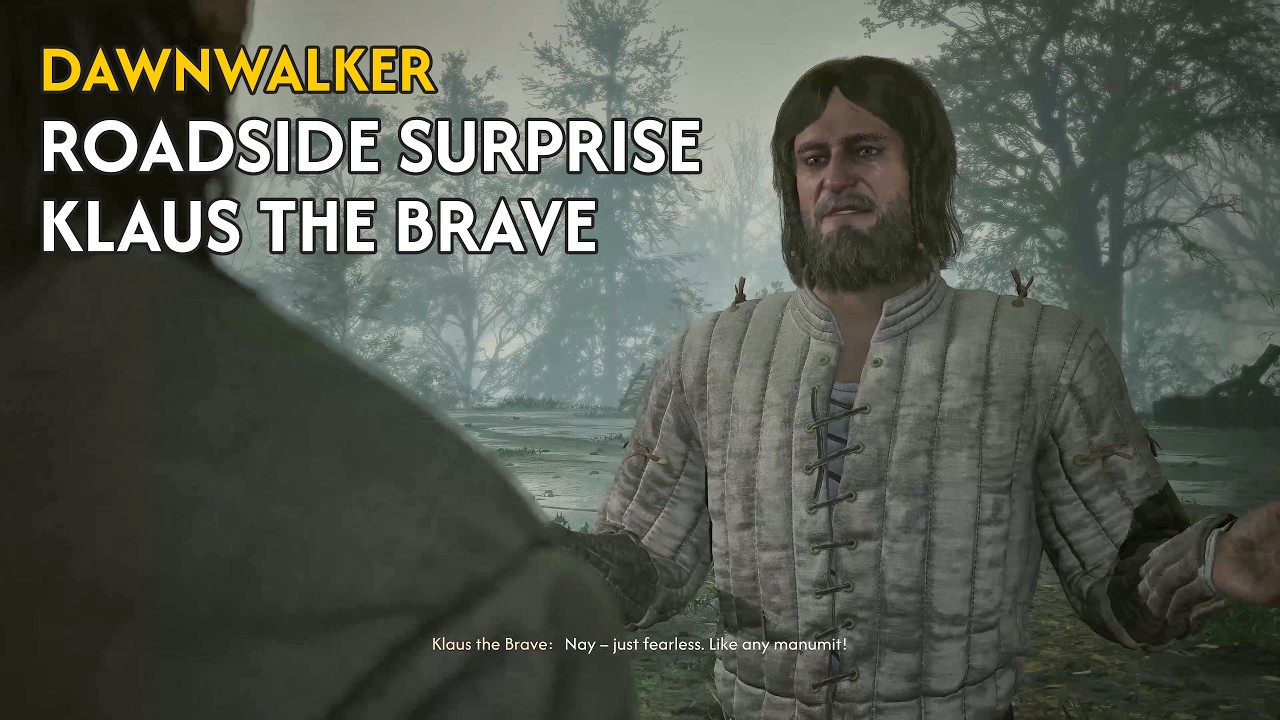
Meet Klaus the Brave, a self-proclaimed revolutionary, and decide his fate.
09 Rescue Mert from prison.
When night falls, head back to the Stoneward Post prison to resume the "Under Watchful Eyes" quest and save Mert. Skip the main gate and approach the prison tower from the back.
Under Watchful Eyes Quest Walkthrough- Return to Stoneward Post at night and approach the walls from behind. Grab any loot you find outside.
- Use Shadowstep to climb the tower and enter through the ruined roof. Do not miss the chest up there.
- Put Friedo to sleep or take him out using Voracious Bite.
- Loot the room. Make sure to grab the Prison Keychain hanging on the wall.
- Sneak over to the basement door, open it, and either neutralize or kill the guard inside.
- Loot the area and take the second Prison Keychain from the guard's body.
- Free Mert and the woman in the other cell, then head back upstairs.
- Step out into the courtyard. A fight is unavoidable here. Defeat the enemies to earn the Perfect Riposte Manual.
- The quest marker points you toward the main gate. Ignore it. Since you have the keys, use the side exit located to the right of the tower.
- Head outside and talk to Mert.
- This successfully completes the "Under Watchful Eyes" quest.
Stoneward Post is also tied to the Court: Prisoner Processing Camp quest. You can skip this if you have another way to deal with Ambrus. If you do want to clear it, you will need to return to Stoneward Post and kill every guard, including the ones inside the buildings, to free the remaining prisoners. This is an optional task heavily focused on combat against relatively strong enemies for this stage of the game, though it offers plenty of loot. I recommend coming back later with a higher-level character if you plan to tackle it.
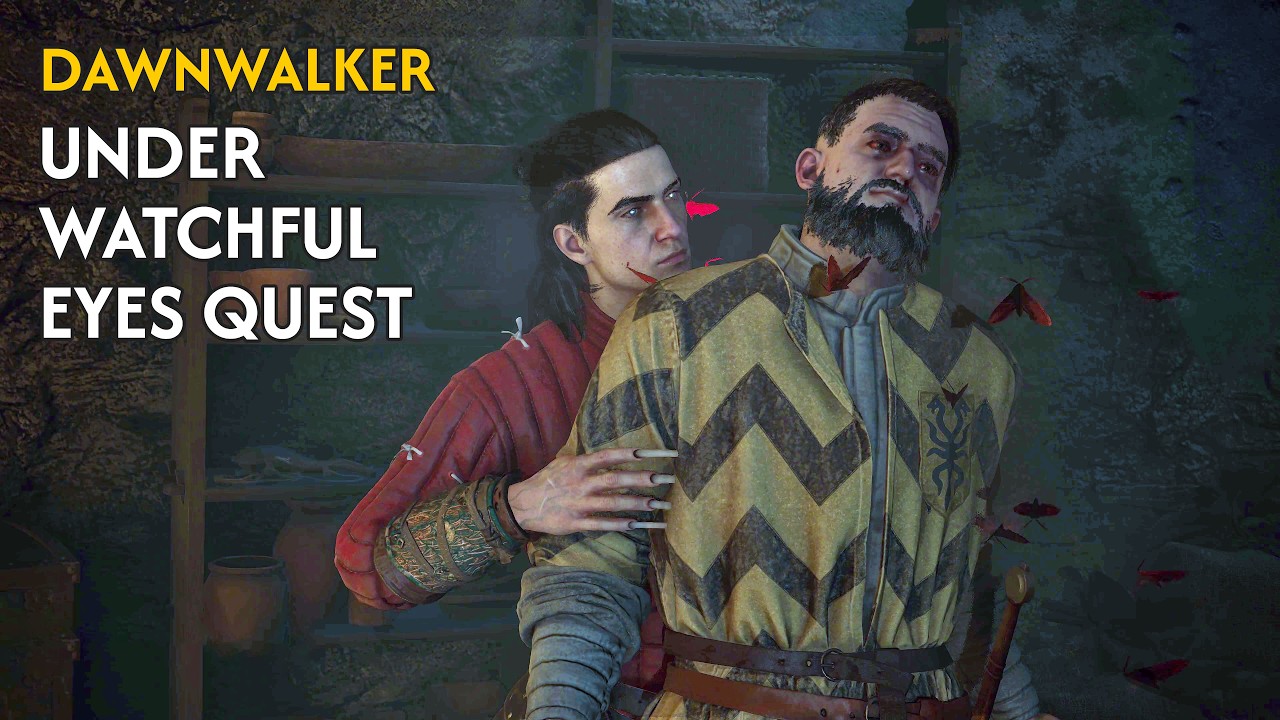
Free Mert and take the side exit to escape Stoneward Post Prison.
10 Murohn's Lair
Come here at night and defeat Murohn, Malformed Monstrosity.
NPC: Murohn (Monster)

A terrifying encounter with a spike-covered, feral monstrosity raises disturbing questions about failed vrakhir experiments and the total loss of humanity.
I met a creature resembling a vrakhir, but ... feral - with spikes growing out of its body and no glimpse of a human soul in its eyes. It made up for the lack of reasoning with sharp instincts - and an unquenchable thirst.
What was it? A failed attempt at creating a vrakhir? More failed than I turned out to be? If so, then maybe I should consider myself lucky to have retained at least part of my humanity. Perhaps it could have gone much worse.
TYPE: Supernatural
You will find: Medicus I Manual, Letter from Ambrus, Letter from Rozalia, Second Letter from Rozalia, Nightling's Band, Murohn Blood, Pointed Shoes, Revitalising Tonic.
11 Leech Collectors Camp
Ambrus's soldiers have set up camp in the bogs.
Ambrus's Collectors: Wetland Helpers
Defeat the camp guards and destroy barrels.
12 Vera's Hut Shrine
Discover Vera's Hut Shrine.
13 Vera Witchcraft Vendor
Come here during the day, talk to Vera.
- Vera is a merchant, so you can easily offload your useless gear here using the [Sell all Junk] option.
- You have likely collected items that do not auto-sell, making this a perfect time to clean up your Inventory. Sell any unwanted gear (I usually drop gray and duplicate items) from the Weaponry, Armor, Accessories, Manuals & Recipes (extra copies), and Trade Goods tabs. Just note that Vera will not buy silver. I recommend keeping Consumables, Ingredients, and Books & Notes.
- Vera offers a large collection of Manuals, though they are quite expensive at this stage.
- She can also upgrade items in your inventory to match your current level. This is a highly useful feature. Just keep an eye on the prices so you do not go bankrupt. For example, I upgraded my best sword and a ring.
- Anything you find inside or around Vera's house is free for the taking, so you do not have to worry about stealing.
- Inside the house, you will find a Recipe and a lore piece about Giant Bog Lizards.
14 Person In Danger
Take out the attackers to help the Villager. You can then introduce yourself as [Coen of Laslea.] to build your fame.
15 Ancient Circle: Northern Swamps
You can only visit Ancient Circles during the day. This is one of the 13 Ancient Circle Locations in The Blood of Dawnwalker.
Ancient Circles of Vale Sangora - Activity
Approaching the first Ancient Circle triggers this quest. You must figure out how to activate it and begin the trial.
Keep in mind that each Ancient Circle consumes 1 Time Segment and the reward chest usually drops better gear than standard loot, it is day only activity.
[Inspect] the mural and find the source of magic in the center of the circle. Approach it and use the Astral Communion Witchcraft Ability you learned in the prologue to finish the quest.
Ancient Circle: Northern Swamps - Activity
Right after finishing the previous Activity, you receive the next one tied to this Circle. Use Astral Communion in the center to start the Trial. Wipe out the enemies, grab the dropped loot, and open the reward chest.
Mercurial Fervour Manual
These chests hold valuable rewards like Manuals, as well as Epic weapons and armor.
16 Tatzelwurms
You will encounter Tatzelwurms in the swamp. These venom-spitting lizards often appear in pairs. Take them down, if only to secure the Glossary entry.
NPC: Tatzelwurm (Monster)

Lurking within the bogs of Vale Sangora, the supernatural Tatzelwurm is a highly poisonous, lizard-like predator that waits underground to launch lightning-fast ambushes on unsuspecting prey.
The swamps of Vale Sangora are a bleak and hostile place, rumoured to be the hunting ground of huge, lizard-like monsters, hiding underwater and in the peat bogs. To make things worse, their numbers seem to be growing - so much so that they started spreading beyond the marshes, into the nearby woods. If that's true, even those who stay away from the swamps have reasons to fear.
And there is, in fact, much to fear. The creatures wait, sometimes for days, without making a single move or sound. But the moment they realise their prey is near, they spring out swiftly, like a lightning bolt. And even if you avoid it, you won't be able to reach the monster before it hides back in the ground - only to emerge somewhere else a moment later and try to kill you again, with relentless determination.
TYPE: Supernatural
ATTACK EFFECT: Poison
17 Briar Sloughs Crossing Shrine
Discover Briar Sloughs Crossing Shrine.
18 Leech Collectors Camp
Ambrus's Collectors: Bounty of the Mire
Kill guards and destroy the leech barrels. 3 Time Segments.
19 Muddy Trail Shrine
Discover Muddy Trail Shrine.
20 Giant Bog Lizard Cave
Near the small lake, you will spot a narrow cave entrance carved into the rock. A pack of Tatzelwurms calls this place home. You could technically skip it for now, but since we are already here, we might as well clear it out.
Inside, you have to take down four Tatzelwurms. At your current level, they should not pose much of a threat. Loot their bodies to get the Legendary Ingredient, Tatzelwurm Gland. Near one of the skeletons, you will pick up a Superior Ring called the Ring of Vrakhiri Endurance.
By another corpse, you will find an Inspirational Message. Grabbing it starts three new Court Quests:
Ambrus's Cellars: Uninvited
Ambrus's Cellars: Seeing Red
Ambrus's Cellars: Trouble Brewing
You can safely ignore these for now since they take place in completely different regions.
The final item in the cave is the Large Lizard's Moult. This is skin of "dragon" mentioned in the Note you found earlier inside the chest at Vera's Hut.
This is a Quest Item required for the "A Bulwark Against Darkness" Quest later down the line. Just hold onto it in your Quest Items inventory tab until you actually need it.
21 Tatzelwurm's Lair
You have to kill Great Bog Wurm and loot Wurm Lair for Forbidden Sigils Manual.
22 Medic Vendor
Only at daytime, sells Recipe for Vitality Balm.
23 Leech Collectors Camp
Ambrus's soldiers have set up camp in the bogs.
Ambrus's Collectors: Unsavoury Solutions
Defeat the camp guards and destroy barrels.
This is the last Leech Collectors Camp you have to clear out. The Bloodletter mini-boss will show up, and you need to take him down. You will find plenty of solid loot on his body and around the camp, including Manuals and the Legendary Consumable, Phial of Bakir's Blood.
Phial of Bakir's Blood is a vital item because it Increases Corruption, allowing you to learn new Vampire Abilities. It also grants the Shadowstorm Ability, which lets you slow down time.
You will receive another Court Quest:
Ambrus's Transports: Bloody Business
24 Southern Swampside Shrine
Discover Southern Swampside Shrine.
25 Person In Danger
Take out the bandits to rescue the Villager.
26 Briar Sloughs South Shrine
Discover Briar Sloughs South Shrine.
27 Ambrus's Prisoner Transport
You will find Fate's Mercy here, which is one of the two Ambrus's Prisoner Transports quests. Since the soldiers are actively escorting prisoners across the map, this location might not be perfectly exact. Just search around this general area.
Ambrus's Prisoner Transports
Ambrus's Prisoners: Fate's Mercy
Take out the soldiers and free the captives. In this specific encounter, you rescue Danylo, a smith's apprentice from Svartrau. To show his gratitude, he invites you to his workshop in Svartrau for a reward. This grants you:
A Good Deed Is Its Own Reward - Activity.
28 Bridge near Stoneward Post
This location is for the "Shadows in the Woods" quest, you picked up from Mert at Stoneward Post.
Shadows in the Woods Quest WalkthroughWe put this quest on hold for a bit, but you cannot delay it any longer. You have exactly two days to finish it from the moment you accept it. The encounter where soldiers hold Sara captive is highly time-sensitive. If you do not step in and rescue her quickly, she will die.
Head to the bridge to trigger a quest update revealing the exact location of your rendezvous point.
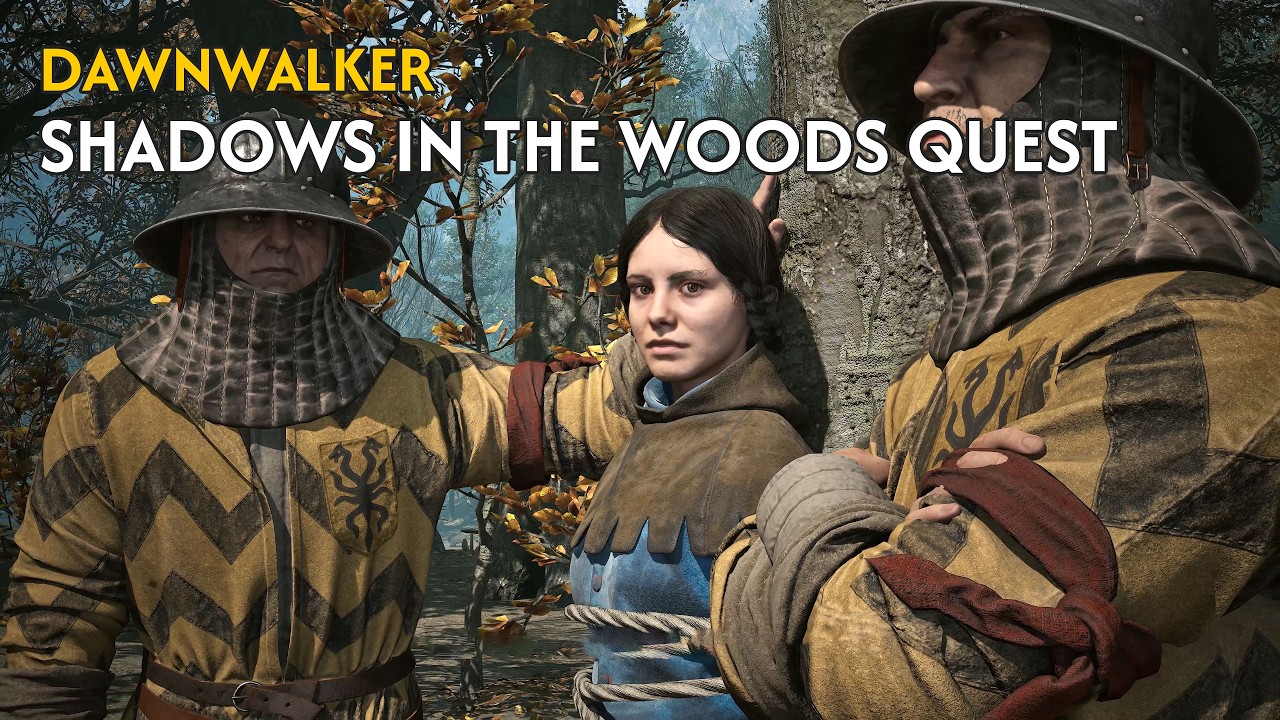
Rescue Sara and follow her to the rebel camp to meet Crake.
29 Rendezvous Point
This location is for "Shadows in the Woods" quest.
Upon arrival, you will spot two soldiers interrogating Sara. This exact moment is time-sensitive, meaning you cannot delay her rescue.
NPC: Sara (Rebel)

Once you free Sara from the soldiers, she will guide you back to Crake's camp.
Sara is with the manumits. She's young - some might say, too young to risk her life like this. But if you asked her, I bet she'd say she's exactly where she wants to be.
TYPE: Mortal
Rather than picking a fight, talk your way out of the situation and bribe the guards. Choose the following dialogue options:
- [That girl is my sister.]
- [Not sure. Maybe these coins hold an answer? (100)] (This costs 100 coins).
With the trick successful, speak to Sara and convince her of your good intentions. Finally, follow her all the way to the Rebel camp.
30 Temporary Rebel Camp
This location is for "Shadows in the Woods" quest.
Sara leads you to this location to meet with Crake, the rebel leader. Things do not go exactly as planned. Crake and his right-hand man Drogos do not trust you at all since they know you are a vrakhir.
NPC: Crake (Rebel Leader)

Crake is the mysterious and desperate leader of the human Rebellion. His real name is Marat, and he is the only male romance option available in Dawnwalker. He is also one of the potential allies you can recruit for the fight against Brencis.
The manumits have many secrets, and their leader's identity is one of the best kept ones. But, after quite a lot of effort, I managed to find him - even though he'd probably say he let himself be found.
And, though he pretends otherwise, he seems desperate. He's running a tight ship, but also a sinking one. The manumits are outnumbered, hunted down without mercy ... I could help them, and something tells me Crake already knows that.
TYPE: Mortal
You have to try and convince them of your good intentions by bringing up your track record fighting Brencis.
Your efforts fall flat. Crake remains deeply suspicious, but you at least walk away with your life. You also pick up the next story quest, "Where Loyalty Lies". To prove whose side you are on, you need to raise your notoriety to Notorious or higher.
Where Loyalty Lies Quest WalkthroughOnce the conversation wraps up, head back to Briar Sloughs to clear out your remaining activities.
31 Will-o-the-Wisp
Will-o-the-Wisps are a side activity in The Blood of Dawnwalker focused on hunting down hidden treasure. There are 6 Will-o-the-Wisp locations scattered across the game.
NPC: Wisps (Monster)

The shimmering will-o-the-wisps of the swamp demand offerings of your darkest emotions, rewarding the reckless with either hidden treasures or a swift death.
When I was younger, I heard a story about the will-o-the-wisps, or 'the shimmering lights'. You could see them in the swamps at night - if you were reckless enough to travel there, and if you gave them a gift. But not just any gift. The wisps crave our sorrow, anger, hatred, and regret. Give it to them and they may guide you to treasures hidden in the marshes, left by wanderers who died there long ago ... or they may lead you astray - and you'll join the dead.
TYPE: Supernatural
Each Will-o-the-Wisp will take 1 Time Segment
- You first need to find a Will-o-the-Wisp, which looks like glowing red orbs floating in the air. Tracking them down is easy since they show up on your map right after you reveal a region using a Scouting Tower.
- Follow the exact path the Wisp leads you down.
- Along the way, you have to complete a specific task, such as taking out an enemy. This fight is just part of the challenge the Wisp demands.
- At the very end of the route, you will find a treasure chest holding valuable loot.
This location is for:
Wisp Treasure Hunt: Watermill Hills - Activity
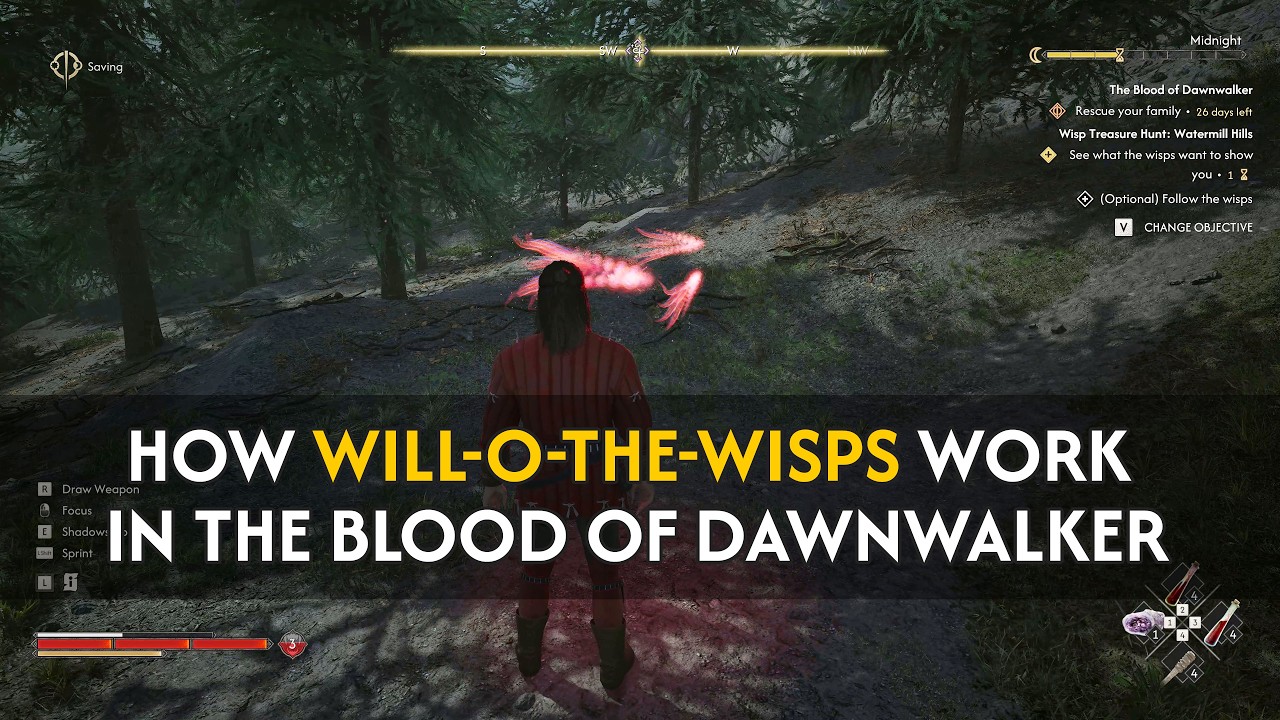
Discover the treasure the mysterious Will-o-the-Wisp leads you to.
32 Will-o-the-Wisp Treasure
Open treasure chest for Wisp Treasure Hunt: Watermill Hills Activity.
33 Stelian's Redoubt Shrine
Discover Stelian's Redoubt Shrine.
34 Destroyed Shrine
Some Shrines are Destroyed. To rebuild them, you need to recover their Heart.
Destroyed Shrines: Small Bridge - Activity
Take out the soldiers guarding the Destroyed Shrine and loot them to recover the Small Bridge Shrine's Heart quest item. Use it directly on the Shrine to restore it.
You will also find the Brencis's Orders: False Idols note, detailing his commands to destroy the Shrines and Ring of Regeneration.
35 Small Bridge Shrine
Discover Small Bridge Shrine.
36 Person in Danger
Rescue the Townsman from the pack of wild boars by taking them out.
37 Ambrus's Dungeon in Briar Sloughs
The Ambrus's Dungeons questline consists of initial quest and three separate missions.
Ambrus's Dungeons Court Quest
The initial "Ambrus's Dungeons" quest activates automatically the moment you approach any of these locations:
Ambrus's Dungeons: Evil and Convenience in Briar Sloughs (your current location).
Ambrus's Dungeons: Twists and Turns in Maragir Wealds.
Ambrus's Dungeons: Judge and Executioner in St. Tyna's Grove.
Ambrus's Dungeons: Evil and Convenience Court Quest WalkthroughHere is the walkthrough for Ambrus's Dungeons: Evil and Convenience, highlighting a specific puzzle you can solve inside the camp.
- Approach the camp and head inside through the main gate.
- Take out the guards and search their bodies.
- Alongside standard loot, you will find the Directives from Ambrus quest item on a corpse. This specific item unlocks all three Court Quests in the Ambrus's Dungeons series.
- Check the objects on both sides of the main gate to locate the Torn Banner quest item.
- Look under the shelter at the far end of the camp to grab the Instrument of Torture quest item.
- Head into the first house on the left. Inspect the corpse, pick up the Steel Brass Key quest item from the table, and read the note right next to it. Snatch and read the Reprimand from Ambrus from the same table.
- Activate Focus Mode to reveal footprints on the ground. Track them to the locked house across the way.
- Inspect the first house on the right. Inside, you will find the Chief Jailor hiding. Talk to him and end the conversation by choosing the dialogue option: [You're not going anywhere.]
- Duel the Chief Jailor out in the courtyard. Defeat him and collect his loot. You will uncover the Treasure Map: Hidden Stash among his documents. Look at the map.
- The map points to a tree located just behind the camp gate on the left side.
- Open the chest (this action costs 3 Time Segments). Inside the treasure chest, you will find the Letter from Bakir along with other rewards.
- This completes the Ambrus's Dungeons: Evil and Convenience Court Quest.
- Alternatively, if it is daytime, you can attempt to use Compel Soul on the corpse inside the locked room of the farthest house. Doing this requires the Instrument of Torture and the Torn Banner you picked up earlier. This provides another route to the treasure chest without having to fight the Chief Jailor.
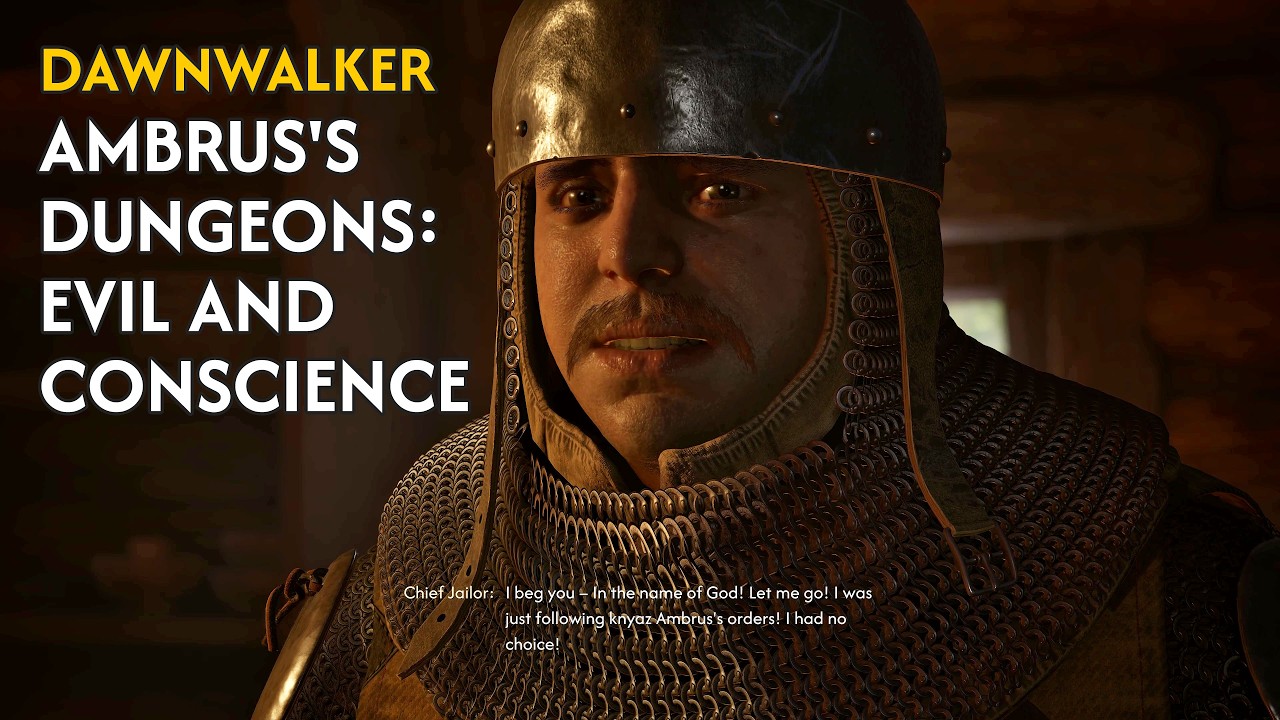
Investigate the Ambrus's Dungeon puzzle in Briar Sloughs and locate the treasure buried beneath the broken tree.
38 Destroyed Shrine
Some Shrines are Destroyed. To rebuild them, you need to recover their Heart.
Destroyed Shrines: Western Slopes
[Inspect] Shrine and look for clues in Focus Mode. Follow footprints to Bandit Camp.
39 Bandit Camp
Kill Bandits and take loot from chest, Western Slopes Shrine's Heart, Brencis's Orders - Root Out Old ..., Swiftness Manual.
Return Shrine's Heart to Western Slopes Shrine, 1 Time Segment.
40 Western Slopes Shrine
Restore and discover Western Slopes Shrine.
41 Coward's Path Shrine
Discover Coward's Path Shrine.
42 Cursed Chasm
In the western part of Briar Sloughs, you will come across a ruined bridge spanning a chasm. This area offers three main activities:
- The Cursed Chasm Quest, where you claim the excellent Durandal sword.
- Finding the Treasure Map: Silver Cache.
- Discovering the path to the "A Hero They Deserve" early game ending.
Let's start with The Cursed Chasm Quest.
The Cursed Chasm Quest Walkthrough- Approach the bridge and loot the Special Orders from the broken cart.
- Investigate the broken bridge.
- Head left along the chasm and find the path leading down.
- Expect two fights. The first is an easy encounter with Wolves, followed by a hard battle against two Vidmo. Although the game marks these enemies as very difficult, if you are following my recommended exploration order, you should be around level 15 and can handle them.
- Gather all the loot from the corpses.
- Start searching for Knyaz Skender's lost treasure by examining all the objects at the bottom of the chasm.
- You will find the Final Report quest item.
- You will also discover the Treasure Map: Silver Cache. This triggers the new Finders Keepers quest, but you should save it for later.
- Inside the remains of the smashed wagon, you will find Durandal. This excellent sword is the main goal of your expedition (grabbing it costs 2 Time Segments).
- Pick up the Old Letter located near the skeleton.
- This completes The Cursed Chasm Quest.
NPC: Vidmo (Monster)

Vidmo are powerful supernatural entities drawn to sites of mass death, proving to be far more dangerous than ordinary ghosts
These spectral figures - they're rumoured to appear near murder sites and battlefields or around mass graves. That's why people say they're ghosts. Yet they seem much more powerful than the mere spectres from ghost stories I listened to as a child. I don't know if they were ever human, but I'm certain they are something else now.
TYPE: Supernatural
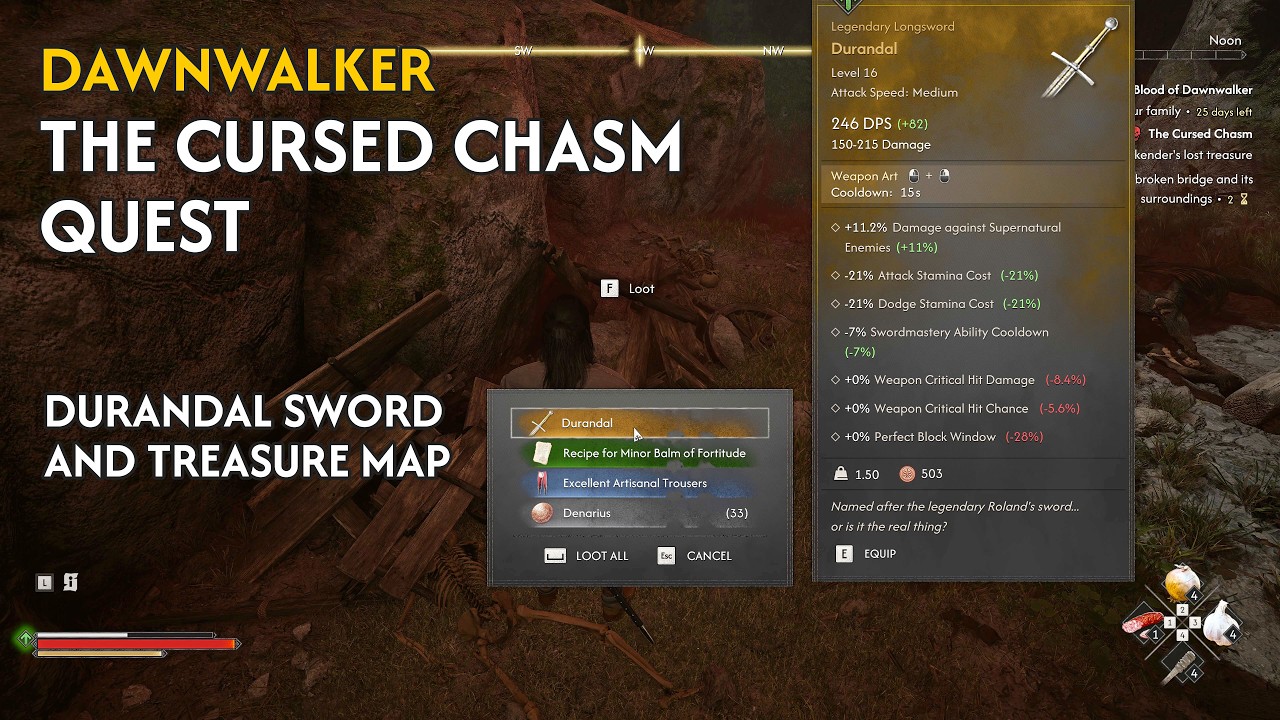
Find Knyaz Skender's lost treasure, claim the excellent Durandal sword, and discover the Treasure Map: Silver Cache.
Before you start hunting for the Silver Cache treasure using your new map, walk to the very end of the canyon heading west to discover the Ancient Circle: North-West Pass.
43 Ancient Circle: North-West Pass
This is a daytime activity (1 Time Segment).
[Inspect] the mural and find the source of magic in the center of the circle. Approach it and use the Astral Communion Witchcraft Ability.
Ancient Circle: North-West Pass - Activity
NPC: Undead (Monster)

The Undead are slow but highly lethal reanimated corpses that wander aimlessly as soulless shells of their former human selves.
Walking corpses ... mindless, soulless, wandering without a purpose ... Shells of the humans they used to be. They seem slow, but each of their blows may prove deadly. What force brought them back to life? Whose will? And is any dead man at risk of becoming such a beast?
TYPE: Supernatural
Wipe out the enemies, grab the dropped loot, and open the reward chest for Cycle of Ruin Manual.
44 Treasure Map: Silver Cache
You will find the Treasure Map: Silver Cache at the bottom of the Cursed Chasm while completing The Cursed Chasm quest.
Finders Keepers Quest WalkthroughFollow the route marked on your map to reach the Silver Cache Treasure (46).
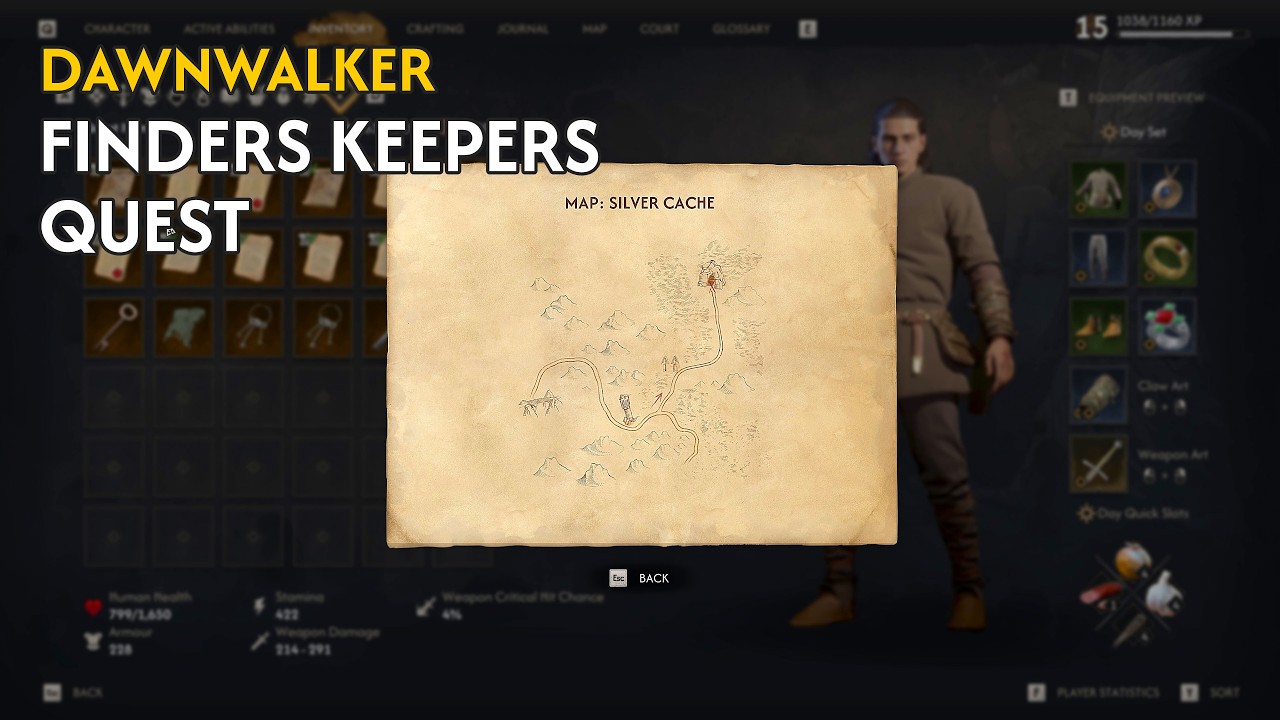
Locate the Silver Cache Treasure using the Treasure Map: Silver Cache found in the Cursed Chasm.
45 Briar Slough Hillock Shrine
Discover Briar Slough Hillock Shrine.
46 Silver Cache Treasure
Regarding the Finders Keepers quest
You can track down the Silver Cache Treasure using the Treasure Map: Silver Cache [44]. Take out the wolves and dig up Skender's lost silver.
NPC: Psoglav (Monster)

The Psoglav is a terrifying supernatural beast resembling a massive wolf with glowing eyes and unnatural fangs, likely spawned by exposure to a cursed environment.
At first glance, you may mistake it for a big wolf. But then you start noticing the weird, unsettling details: the unnaturally long fangs, the glowing eyes, the strange way it moves ... And then there's the howls, low and rumbling, ringing in your ears like the promise of death.
Did nature create such a monster? I doubt it. But how, then, was it spawned? Was there a purpose to its creation? Or did it come to be as a side effect of something else? A wolf or a dog which happened to get too close to a dark, cursed place?
TYPE: Supernatural
47 Early Ending: A Hero They Deserve
The Cursed Chasm offers a way to end your playthrough early in The Blood of Dawnwalker.
The ruined bridge in western Briar Sloughs connects to a path leading directly to the Outer Gate of Vale Sangora.
If you manage to cross the chasm, using Vampire abilities, follow the road to the Outer Gate. Interacting with it and selecting the dialogue option [leave the valley forever] immediately ends the game. You abandon your family and leave the residents of Vale Sangora to fend for themselves.
The game returns you to the main menu, skipping the prologue but treating you to an extra post-credits cinematic. This route acts as an early bad ending. Taking it earns you two achievements:
- "A Hero They Deserve" (Escape Vale Sangora, escape responsibility. Phew.)
- "The Blood of Dawnwalker" (Finish the story)
Treat this entirely as a curiosity. If you actually go through with it, you are forced to start your game over from the very beginning.
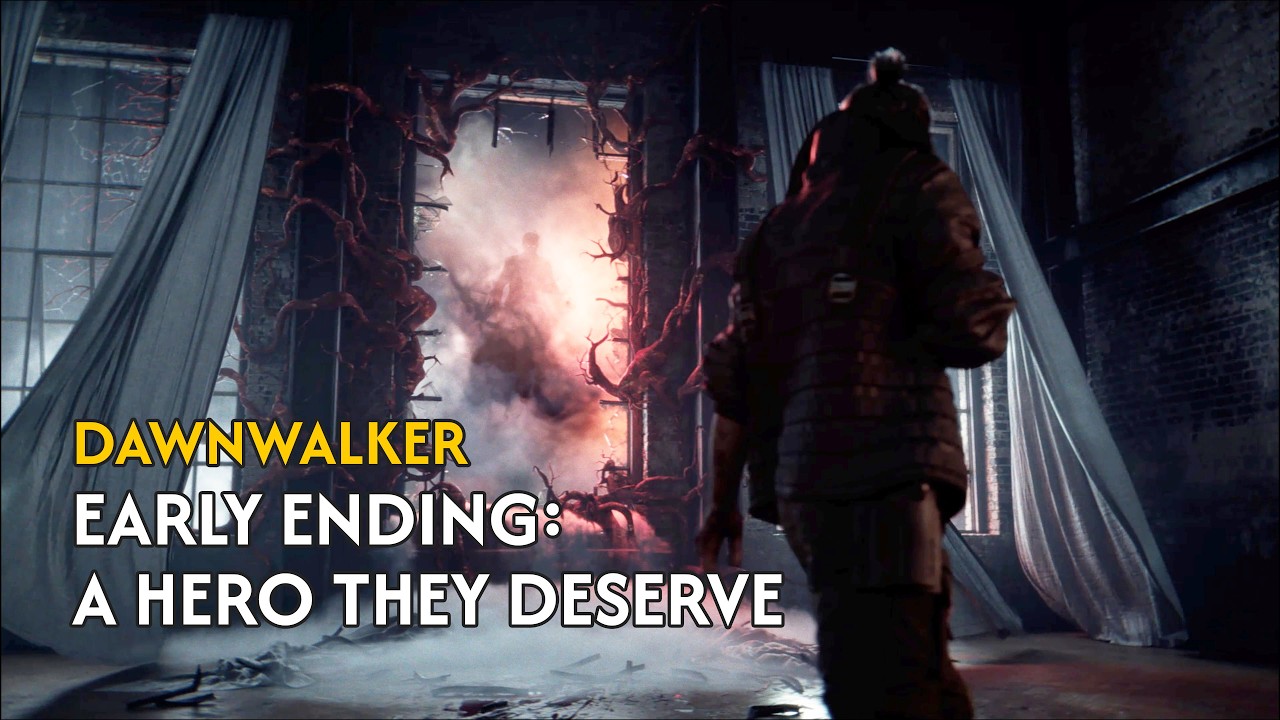
Crossing the Cursed Chasm and abandoning Vale Sangora triggers an early bad ending that rewards you with two achievements but forces a complete game restart.
48 Outer Gate
Outer Gate of Vale Sangora for Early Ending: A Hero They Deserve.
49 Uriashi Hermitage Shrine
Discover Uriashi Hermitage Shrine.
50 Uriash Blacksmith
Nareh is a Uriash Blacksmith tied to the upcoming A Bulwark Against Darkness and Forge It Anew quests. He refuses to speak with you at this point in the story.
NPC: Nareh (Uriash Blacksmith)

Nareh is a Uriash Blacksmith who resides in a remote cabin in northwestern Briar Sloughs.
While hiking through the mountains, I stumbled upon an uriash blacksmith. The place where she lived seemed secluded, even by uriash standards. I wonder what happened to her and why she isn't with her people. Did she choose to live this way, or is she an outcast?
TYPE: Mortal
51 St. Mihai Sword Cave
The cave for the Forge It Anew quest, currently inaccessible.