
The Blood of Dawnwalker Map: Maragir Wealds
Uncovered and annotated Maragir Wealds Map for The Blood of Dawnwalker features a recommended exploration order and a walkthrough covering quests, secrets, puzzles, and key locations. You head to the Maragir Wealds map to defeat Ambrus in a duel by poisoning him first.

Maragir Wealds Walkthrough & Map Overview
The Maragir Wealds region is all about taking down Ambrus, a member of the Vrakhiri Court. To make this happen, you need to max out his Anger Level by destroying his blood harvesting camps across the area. Once you get his attention, he challenges Coen to a duel. We will also poison him beforehand to make that fight a lot easier.
Maragir Wealds also opens up a few other interesting side quests.
You will find plenty of minor side activities as well. Keep in mind that strict time limits mean you won't be able to complete everything. I've marked all the available activities, but feel free to skip the ones you find less appealing to save time.
We start our journey by locating the Scouting Tower and getting a lay of the land.
01 Bear's Maw Shrine
Recover and discover Bear's Maw Shrine.
Destroyed Shrines: Bear's Maw - Activity 1 Time Segment
 Destroyed Shrines: Bear's Maw - Activity 1 Time Segment
02 Bear's Maw Shrine's Heart
For Destroyed Shrines: Bear's Maw - Activity.
03 Upper Maragir Wealds Shrine
Discover Upper Maragir Wealds Shrine.
04 Codrin's Hunting Lodge Shrine
Discover Codrin's Hunting Lodge Shrine.
05 Maragir Wealds Watchtower Shrine
Discover Maragir Wealds Watchtower Shrine.
06 Maragir Wealds Tower
Climb the Maragir Wealds Tower at night to scout the area and reveal regional activities. You will find a chest containing a Manual at the very top.
07 Kobolds's Nest
Monster's Lair, 1 Time Segment, kill the enemies, collect the treasure from the chest, and pick up the Perk Manual.
08 Forge It Anew
Here you can start the major Forge It Anew questline. You need to complete it to get the Legendary Imbued Sword of St. Mihai, a vital weapon for the Brencis fight, and the Arbiter's Blade achievement.
The game points you toward this quest in a few different ways, but I find this specific route the most organic.
While walking the road from Bear's Maw to Upper Maragir Wealds, keep a close eye on the rocks to your left. You will spot a faded white mark next to a faint trail hugging the cliff.
Follow this path and look for more symbols. They become much clearer as you progress. Soon they turn into distinct handprints that you need to [Inspect].
The trail eventually leads you to a small camp tucked under an overhanging rock.
Forge It Anew Questline Walkthrough09 Abandoned Campsite
Following the handprints on the rocks leads you to an empty camp. Scan the area using Focus Mode and pick up Florin's Orders.
This triggers the Forge It Anew: Do Not Disturb quest, which is part of the larger Forge It Anew questline.
Keep heading north by following the blood trail.
Forge It Anew: Do Not Disturb Quest Walkthrough10 Kobold Cave
You will visit this location during the Forge It Anew: Do Not Disturb quest.
Follow the bloody tracks from the Abandoned Campsite to reach the cave.
- Defeat the kobolds outside.
- Head in and clear out the rest of them inside.
- Inspect the wall painting depicting a great warrior fighting monsters.
- Grab a Blood-Soaked Journal from a nearby corpse.
- A second painting shows a map of Vale Sangora with three marked locations, including your current spot.
This triggers two new quests in the series to track down the remaining Sword Shards:
Forge It Anew: Executive Order Quest
Forge It Anew: Hostile Takeover Quest
At the back of the cave, you'll find a ruined shrine bearing the inscription "Sanctus Mihai".
Pick up the Silver Sword Shard (3 Time Segments).
11 Kobolds's Nest
Monster's Lair, 1 Time Segment, kill the enemies, collect the treasure from the chest, and pick up the Perk Manual.
12 Ambrus's Dungeons: Twists and Turns
Attack Ambrus's camp to increase his Anger Level.
Ambrus's Dungeons: Twists and Turns
 Ambrus's Dungeons: Twists and Turns
Take out the two guards on the surface to loot the Directives from Ambrus and the Letter of Admonishment. Head underground, kill the guards, and grab the Jailer's Key from a corpse.
You can use this key to open the prisoner cells holding Ambrus's former soldiers. Leaving them locked up has no consequences. If you let them out, you will run into them later robbing travelers on the road (32).
Keep an eye out for a Manual on another body in the camp.
Notice that one of the cells shows as [Locked] and cannot be opened.
13 Maragir Road Shrine
Discover Maragir Road Shrine.
14 Ambrus's Transports: Bloody Business
Attack Ambrus's Transport to increase his Anger Level.
A caravan of soldiers travels along this road. They should be right around the spot I marked on the map when you arrive. If you don't see them, head south down the road. Take them out. Letter of Reprimand.
Ambrus's Transports: Bloody Business

You'll find the map showing Ambrus's transport routes at the camp during Ambrus's Cellars: Seeing Red (21).
15 Ancient Circle: East of Maragir
This is a daytime activity (1 Time Segment).
[Inspect] the mural and find the source of magic in the center of the circle. Approach it and use the Astral Communion Witchcraft Ability.
Ancient Circle: East of Maragir - Activity
Wipe out the enemies, grab the dropped loot, and open the reward chest for Perk Manual.
16 Bear Cave
Monster's Lair, 1 Time Segment, kill the enemies, collect the treasure from the chest, and pick up the Perk Manual and Letter from St. Tyna's.
17 Lower Maragir Wealds Shrine
Discover Lower Maragir Wealds Shrine.
18 Soldier Camp
Kill them for Manuals and Maragir Wealds Shrine's Heart quest item.
Take the Heart quest item and head a bit south to the Maragir Wealds Destroyed Shrine.
19 Maragir Wealds Shrine
Take Maragir Wealds Shrine's Heart from Soldier Camp (18) and restore Shrine.
Destroyed Shrines: Maragir Wealds - Activity
Discover Briar Sloughs Watchtower Shrine.
20 Person In Danger
Rescue the Townswoman, 1 Time Segment.
21 Ambrus's Cellars: Seeing Red
Attack Ambrus's camp to increase his Anger Level.
Ambrus's Cellars: Seeing Red 3 Time Segments
Take out the soldiers outside, then head into the cellar.
You will find Ambrus's Blood Network Map, Orders From Ambrus and Report about Excavations.
You have two choices for handling the blood supply:
- [destroy the barrels] This is the recommended approach. It gives you more experience points and fits the story perfectly.
- [collect the blood] As a vampire, you can save this stash to heal yourself later.
22 Eerie Knoll Shrine
Discover Eerie Knoll Shrine.
23 Kobolds's Nest
Monster's Lair, 1 Time Segment, kill the enemies, collect the treasure from the chest, and pick up the Perk Manual.
24 Armorer in Maragir Town
Speak with the Armorer about his daughter.
Star-Crossed Lovers Quest WalkthroughYou want to start this quest in the morning so you have the right time of day to use Compel Soul to speak with the dead later on. A major warning before you proceed: no matter how you resolve this quest, the Armorer will become unavailable afterward. Make sure you use his shop before turning in the final step. The Armorer won't be back until later in the story.
Follow the path into the woods toward the quest marker.

Help the Armorer in Maragir Town investigate his daughter's disappearance.
25 The lovers' meeting spot
You will visit this location in daytime during the Star-Crossed Lovers quest.
- You will find a man's body up on a hill.
- Inspect the area using Focus Mode.
- Find and collect the Recruitment Letter, Small Knife, Bottle of Wine, and Brencis's Seal from the ground.
- Use these items to cast Compel Soul on the corpse.
- Follow the blood trail using Focus Mode.
26 Lujeta
You will visit this location in daytime during the Star-Crossed Lovers quest.
- Follow the blood trail using Focus Mode.
- Kill the wolves.
- Inspect the girl's body. It is Lujeta.
- Read the Manumit Order.
- Return to the Armorer.
- Before you tell him what happened to his daughter, make sure to use his shop services by picking [Show me what you've got.] and [Improve my equipment.]. Once the quest wraps up, the grieving father shuts down his business for some time.
- Your final dialogue choice does not impact the story. Telling him the whole truth or hiding the details leads to the same result.
- This completes the Star-Crossed Lovers quest.
27 Merchant in Maragir Town
The Merchant in Maragir Town doesn't sell anything special, but he starts a major side quest called Buried Past. This mission digs into the history of your father, Pieter, and pays out with some heavy-hitting gear: the legendary Pieter's Garb armor, Volk's Sword, and the Artery Strike Manual.
Buried Past Quest WalkthroughTalk to Merchant in Maragir Town
- [It's me. You know my father?]
- [My father was taken by the knyaz.]
- [You sure it was my father? He's not much of a drinker.]
- [I wouldn't put it past him ...]
- [I'll buy the beer my father ordered. (200)]
28 Maragir Crossroads Shrine
Discover Maragir Crossroads Shrine.
29 Haunted Site
You will encounter another activity type called Haunted Sites. There are 4 Haunted Sites locations in The Blood of Dawnwalker, and finding first starts activity.
Vale Sangora's Haunted Places - Activity
You can only tackle Haunted Sites during the day since they require the Astral Communion Witchcraft Ability. Each site costs 1 Time Segment and rewards you with a Perk Manual.
The core loop is always the same: summon the spirits, defeat them, and search the chest.
This specific location is :Haunted: Site of Crucifixion - Activity
- Find and read the Exorcist's Account.
- Inspect the entire scene and check the notes left on the crosses.
- Use Astral Communion to summon the spirits.
- Defeat the spirits to put them to rest.
- Grab the Unholy Vitality Manual and the Master Blacksmith's Blade.
30 Stuga Bridge Shrine
Discover Stuga Bridge Shrine.
31 Ancient Circle: Maragir Wealds
This is a daytime activity (1 Time Segment).
[Inspect] the mural and find the source of magic in the center of the circle. Approach it and use the Astral Communion Witchcraft Ability.
Ancient Circle: Maragir Wealds - Activity
Wipe out the enemies, grab the dropped loot, and open the reward chest for Perk Manual.
32 Brencis's former soldiers
You'll run into Brencis's former soldiers here if you let them out of Ambrus's Dungeon (12). As you might expect from a bunch of deserters, they are busy shaking down random travelers. You can kill them or give them a second chance, though doing that seems completely pointless.
33 Will-o-the-Wisp
Wisp Treasure Hunt: East Road - Activity 1 Time Segment
- You first need to find a Will-o-the-Wisp, which looks like glowing red orbs floating in the air. Tracking them down is easy since they show up on your map right after you reveal a region using a Scouting Tower.
- Follow the exact path the Wisp leads you down.
- Along the way, you have to complete a specific task, such as taking out an enemy. This fight is just part of the challenge the Wisp demands.
- At the very end of the route, you will find a treasure chest holding valuable loot.
34 Will-o-the-Wisp Treasure
Open treasure chest for Wisp Treasure Hunt: East Road Activity.
35 Person In Danger
Rescue the Medic, 1 Time Segment.
Meet her in Svartrau for reward.
36 Bandit Camp
Clear out the Bandit Camp, making sure to take down the tougher Brigand Dastard. Grab the loot and open the chest. Along with an Ability Manual, you'll find the Treasure Map: Briar Sloughs. Inspect it to start:
Bandits's Treasure Map: Briar Sloughs - Activity
Use the Shrines to head back to Briar Sloughs.
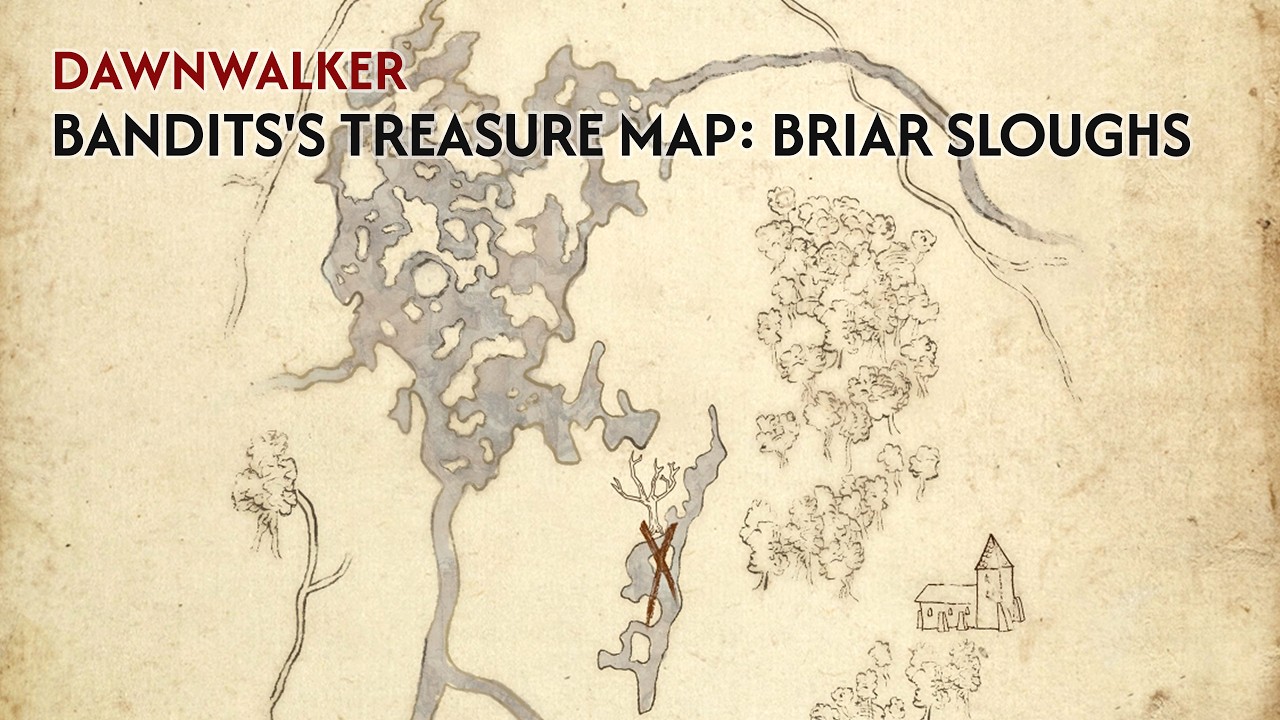
You will find the Bandits's Treasure Map: Briar Sloughs at a forest Bandit Camp in southern Maragir Wealds.
37 Briar Sloughs Map Treasure
Clear out any monsters you run into so they don't get in the way. [Dig Out the Treasure] takes 1 Time Segment. You'll find the Stinging Blade Manual and some extra gear.
38 St. Clement's Monastery
You can't do anything at St. Clement's Monastery at this point in the story. Later on, it becomes a key location for the Buried Past quest and serves as the burial site for Iulian Codrin if he doesn't survive The Gilded Gauntlet quest.
39 The Gilded Gauntlet
This is a major turning point and your main goal when exploring the Maragir Wealds.
You came to the Maragir Wealds to take down Ambrus. That is the main goal of The Gilded Gauntlet quest, which you pick up at the execution site near Maragir Crossroads. When you arrive, you will spot a crowd of locals staring at a crucified villager.
The quest triggers in Maragir once your actions push Ambrus's Anger Level to the maximum. You do not need to finish every Ambrus related quest to do this. Check his anger level in the Court tab. If you followed my walkthrough, it should already be maxed out. If it is not, just destroy one more of his soldier camps.
The Gilded Gauntlet Quest WalkthroughIn The Gilded Gauntlet, Ambrus challenges you to a duel. Coen got 3 days to meet Ambrus at night.
You have 3 days to duel Ambrus. If you don't make it in time, you'll fail The Gilded Gauntlet Quest.
The duel is tough, but you can make it significantly easier. After you receive The Gilded Gauntlet, Erdene (a servant to local nobleman Iulian Codrin) will approach you. She invites you to meet Iulian at his forest estate. Go to the meeting and agree to his plan. This sequence is covered in The Bittersweet Toast Quest, which you should finish before completing The Gilded Gauntlet.
Speak with Erdene and follow her to meet Iulian Codrin [Let's go, then.].
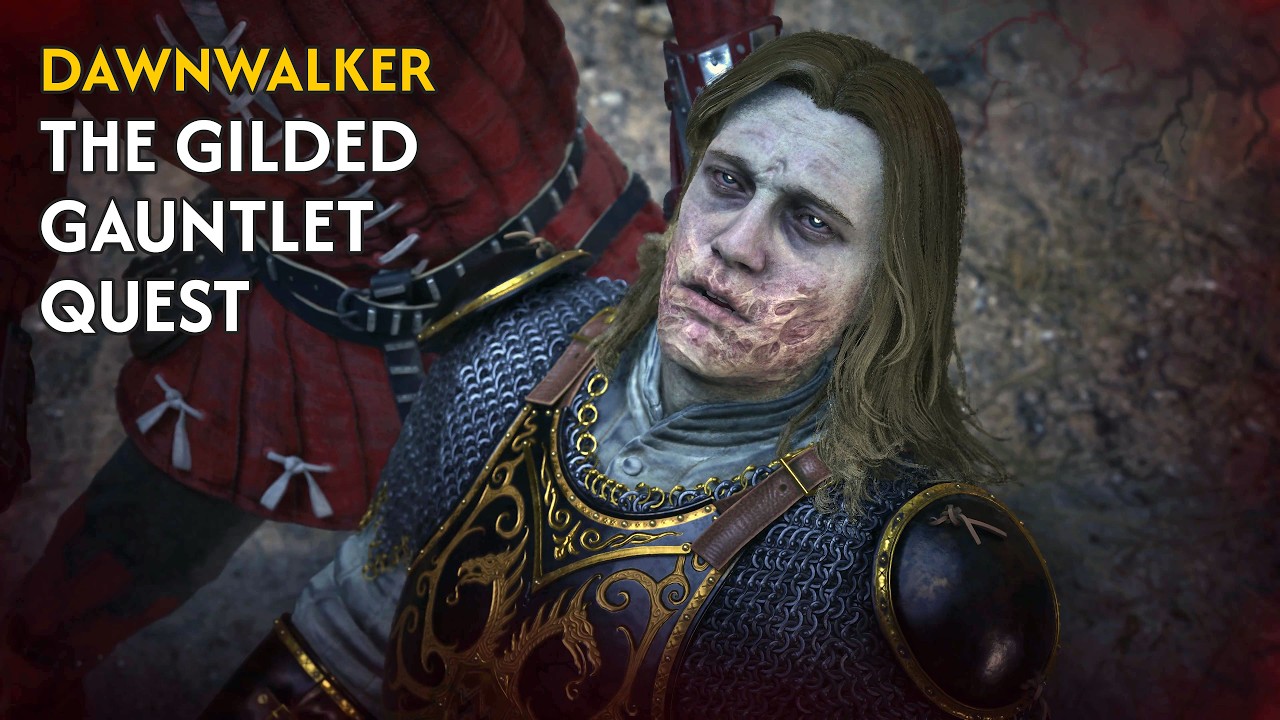
Ambrus challenges you to a duel at a ruined castle south of Maragir Town.
40 Iulian Codrin forest estate
You will visit this location during the The Gilded Gauntlet quest.
You'll end up here if you choose [Let's go, then.] while talking to Erdene during The Gilded Gauntlet.
- Talk to Iulian. Exhaust all positive and cooperative dialogue options to get a read on the situation.
- When you reach the [You have a plan?] prompt, Iulian explains his idea to poison Ambrus to weaken him for the fight. Agree to this plan.
- You now need to successfully complete The Bittersweet Toast Quest to set the trap. Once that is done, head to the duel location.
NPC: Iulian Codrin (Nobleman)

Iulian Codrin is a heroic nobleman who helps you out by poisoning Ambrus during the duel with Coen.
Iulian is a nobleman, one of the few Brencis spared. He pledged allegiance and became Boyar Ambrus' vassal. This meant Iulian could keep his status and possessions.
But nonetheless, Iulian wishes the boyar dead. He knows, even though officially Brencis disapproves of feeding directly from humans, Ambrus feasts on his subjects whenever he pleases. luilian intends to use that to his advantage, killing his master by poisoning the blood of the vrakhir's next victim.
TYPE: Mortal
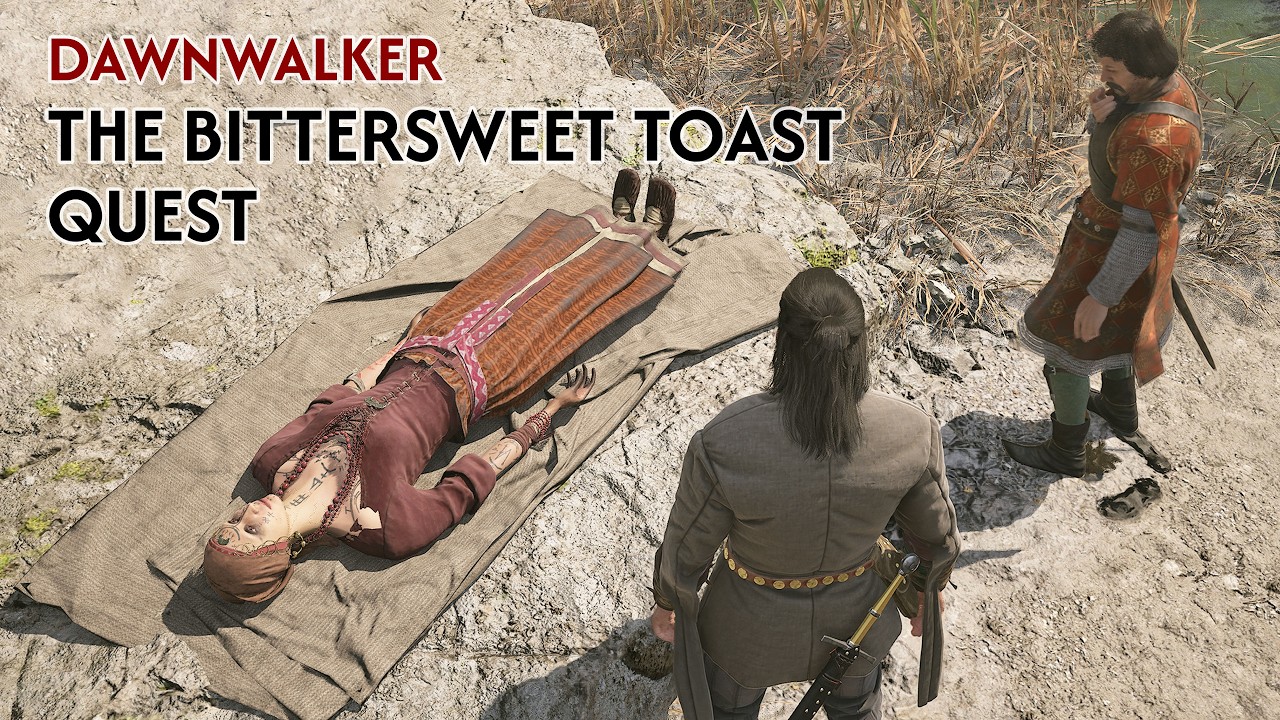
Bittersweet Toast aims to weaken Ambrus before Coen duels him.
Follow Iulian Codrin.
41 To Vera's Hut with Iulian
You will visit this location during the The Bittersweet Toast quest.
Follow Iulian to Vera's Hut. Kill the wolves along the way and [Inspect] the body.
42 Vera's Hut
You will visit this location during the The Bittersweet Toast quest.
- Search the hut. [Inspect] everything and take "Vera's Old Letter" from the chest.
- Discuss your findings with Iulian.
NPC: Vera (Herbalist)

Vera is an herbalist who came up with a plan to save Iulian Codrin from the poison used against Ambrus.
Vera is a herbalist. She lives in the swamps, and - as one might expect of someone dwelling in such seclusion - there is more to her than meets the eye. She is also a friend of lulian Codrin's and will hopefully help us carry out his plan.
TYPE: Mortal
43 Vera's Traps
You will visit this location during the The Bittersweet Toast quest.
- Look for Vera's traps. Head into the swamp and check them.
- You will find tracks on the ground. Follow them.
44 Ceremonial Circle
You will visit this location during the The Bittersweet Toast quest.
- Inspect Vera's body and talk to Iulian.
- Find the ritual scroll by inspecting the body.
- Follow Vera's tracks using Focus Mode.
- Search the clearing and [Inspect] the area.
- Closer to the cave, you will find Poison Weeds and Vera's Lizard Note on the ground. Read the note.
- You should receive a new quest step: (Optional) Find the lizard's lair.
45 Lizard's Lair
You will visit this location during the The Bittersweet Toast quest.
Enter the cave, kill the Pale Ravager, and loot the Tatzelwurm Gland quest item.
Return to Ceremonial Circle (44).
44 Ceremonial Circle
You will visit this location during the The Bittersweet Toast quest.
- Give Iulian the scroll and discuss your next steps.
- Finish making the brew at the sarcophagus. Select [add the lizard gland] to save Iulian, then choose [finish the brew].
- Perform the ritual. You need to light all 5 pillars and kill the enemies trying to stop you.
- Do not forget to loot the bodies.
- Now you must force Iulian to drink his half of the Ritual Brew. He will resist, but you need to hold him to your agreement.
- Say your goodbyes. You will see him again during the duel with Ambrus.
- This completes The Bittersweet Toast.
You can now return to The Gilded Gauntlet quest (46).
46 Path to the castle ruins
Nighttime - This route takes you straight to the castle ruins where you'll duel Ambrus.
47 The Gilded Gauntlet duel with Ambrus
The Gilded Gauntlet Quest Walkthrough- Make sure you arrive at night.
- After you now need to successfully complete The Bittersweet Toast Quest to set the trap. Once that is done, start duel.
- Ring the bell at night to summon Ambrus.
- Enter dialogue with Ambrus.
- [Hence the shiny armour?]
- [I was bored.]
- [Same difference.]
- [You're a pawn, Ambrus.]
- Ambrus offers you the chance to drain blood from Iulian Codrin. Do not do this, as his blood is poisoned. Choose [Letting a peasant drink first? What kind of a boyar are you?].
- The fight begins. If you did everything right, Ambrus is poisoned. Time is on your side since his health constantly drains. It can drop down to a minimum of 15%, but the poison alone will not kill him.
- Fight him, watch out for his special moves, and dodge. Hit back with your own special attacks. The poison makes this encounter much more manageable.
- When Ambrus goes down, do not kill him. Select [drain Ambrus's blood].
- You will be transported to Anachora, the vrakhiri afterlife world.
Anachora
Lore: Anachora
Anachora is a desolate afterlife where the unabsorbed souls of slain vrakhiri are trapped forever, forced to wander cursed plains under the constant gaze of a mysterious entity.
For thousands of years we've been wondering what happens to us after we die. Is there an afterlife? For vrakhiri there is, but it's far from hospitable. It's called Anachora.
When one vrakhir dies by another vrakhir's hand, the killer may decide to absorb their victim's soul, carrying the dead spirit inside themselves. If the killer refuses, victim's soul is trapped in Anachora.
At that point, there's no way back. The dead souls are condemned to wander through the cursed plains forever, constantly watched by something ... An unnamed presence, hidden behind the clouds, whose gaze sinks into the vrakhiri's souls the way fangs sink into flesh. Who is it? And what does it want?
- Speak with Ambrus's spirit.
- Ambrus begs you not to leave him in this world. Agree and take a piece of him with you by picking [I'll invite you in.].
- Ambrus becomes a voice in your head, occasionally commenting on your actions. You receive the Scarlet Shield Ability, and his spirit will assist you in the final duel against Brencis.
Back to Vale Sangora
- Once you return to the living world, speak with Iulian Codrin. He wanted to sacrifice himself and is unhappy that he survived, but you did what you thought was best and saved his life.
- If Iulian does not survive, you can hold a funeral for him at the nearby cemetery.
- Loot Ambrus to find Ambrus's Cuirass and Song of Valour.
- This concludes The Gilded Gauntlet. Ambrus is dead but travels with you as a spirit, acting as ally.
The Gilded Gauntlet Consequences:
- Reading the "Note for Ambrus" found on his body unlocks another major A Friend Like This Quest. This starts a questline for Lacra, your second potential ally against Brencis.
- If you followed the plan and drained his blood to gain the Scarlet Shield Ability and his companionship, you are now poisoned just like he was. The poison lasts for 10 Time Segments. You cannot cure it, so keep a close eye on your health. The effect will clear up on its own once the time runs out.
If you fail The Gilded Gauntlet
Here is what happens if you miss the 3-day deadline for the duel in The Gilded Gauntlet:
- You fail the quest.
- Ambrus's troops in the Maragir Wealds grow in number and become much more aggressive.
- Ambrus executes the hostages.
- You get locked out of The Bittersweet Toast quest.
- You miss out on the A Friend Like This quest, forcing you to find another route to Lacra.