Hungering Plain Map - Borderlands 4
Borderlands 4 Map of Hungering Plain, uncovered and described Map with Zone Progress, Missions, Activities, Collectibles and Locations, Borderlands 4 Maps and Walkthrough.
Hungering Plain Map


The Hungering Plain is a smaller, more transitional Zone, with no Safehouse, Order Silo, or Fast Travel Station.
You first arrive in Hungering Plain from The Howl during Main Mission 03: Down and Outbound. Visit only the mission-required locations, Horace's Oversight and Wreck of the Nostalgia, and then return to The Howl. Beyond Main Mission 03: Down and Outbound, there's little story-related activity in Hungering Plain.
You visit Hungering Plain a second time on your way to Idolator's Noose during Main Mission 04: A Lot to Process, and then you can explore the entire location.
There's Side Mission 09: No Place Like Home, which you'll complete in The Flarewell. There are also two Activities and nine Collectibles.
Walkthrough for Hungering Plain
Recommended order for visiting Hungering Plain:
| Icon | Name & Description | |
|---|---|---|
01 |
Form The HowlYou arrive in the Hungering Plain to penetrate Horace's Oversight during Main Mission 03: Down and Outbound. | |
02 |
Horace's OversightThe entrance is on the west side. You must fight your way from the very bottom to the very top of the complex through a large number of enemies. Along the way, inside the base, you can collect two Marcus Bobbleheads and one Vault Symbol. For the Mission, you collect the "Recover Order Contraband." At the very top, where the vending machines are, you will find a path down to Spymaster's hideout. Kill him and take Spymaster's Bolt. | |
03 |
Wreck of the NostalgiaThe next step in Main Mission 03: Down and Outbound is to visit the Wreck of the Nostalgia, where you can collect bolt scanner parts. | |
04 |
Return to The HowlReturn to The Launchpad and complete Main Mission 03: Down and Outbound. Start Main Mission 04: A Lot to Process at The Howl, and you can return to the Hungering Plain to complete your exploration. | |
05 |
Hungering Plain - second visit, exploration. | |
06 |
ClaptrapTalk to Claptrap and get Side Mission 09: No Place Like Home | |
07 |
The FlarewellThe Flarewell location is intended for Side Mission 09: No Place Like Home. At the beginning, in the hallway on the left, you'll find an ECHO. Complete the mission's steps, and Claptrap will add more steps until you find the passage to the solar mirror field. You need to position the mirrors so that the beam burns out the massive doors to the complex's upper floors. Then, you'll have to climb to the top of the tower. You'll also have to find the Propaganda Speaker on the roof; it's easy, as enemies only come from one direction. Return to Claptrap and complete the mission. | |
08 |
The Prospects - Ripper Drill SiteYou have to kill Sidney Pointylegs. | |
09 |
The Roaming Pasture - Ancient CrawlerThe battery is on a pickup truck next to the garage to the SE. You need to carry it up. There's a ladder along the way, so either throw the battery up or use a rope to pull it up. You need to climb all the way to the top. | |
|
Collect the remaining Collectibles in Hungering Plain. | ||
10 |
Exit to Idolator’s NooseFor now, that's all you can do in the Hungering Plain in Story mode. You'll be back. Head to Idolator's Noose to continue Main Mission 04: A Lot to Process. | |
Missions in Hungering Plain
| Icon | Name & Description | |
|---|---|---|
|
|
No Place Like Home - Side Mission 09Hungering Plain - Claptrap Look, change is scary. Especially when that change involves crash-landing in the middle of a violent dictatorship. Your best friend Claptrap could really use a therapist, but it doesn’t look like there are any of those nearby, so you’ll have to do. You need to infiltrate The Flarewell nearby, the mission doesn't take you any further, so complete it immediately. | |
Activities in Hungering Plain
| Icon | Name & Description | |
|---|---|---|
|
|
The Roaming PastureAncient Crawler | |
|
|
The ProspectsRipper Drill Site | |
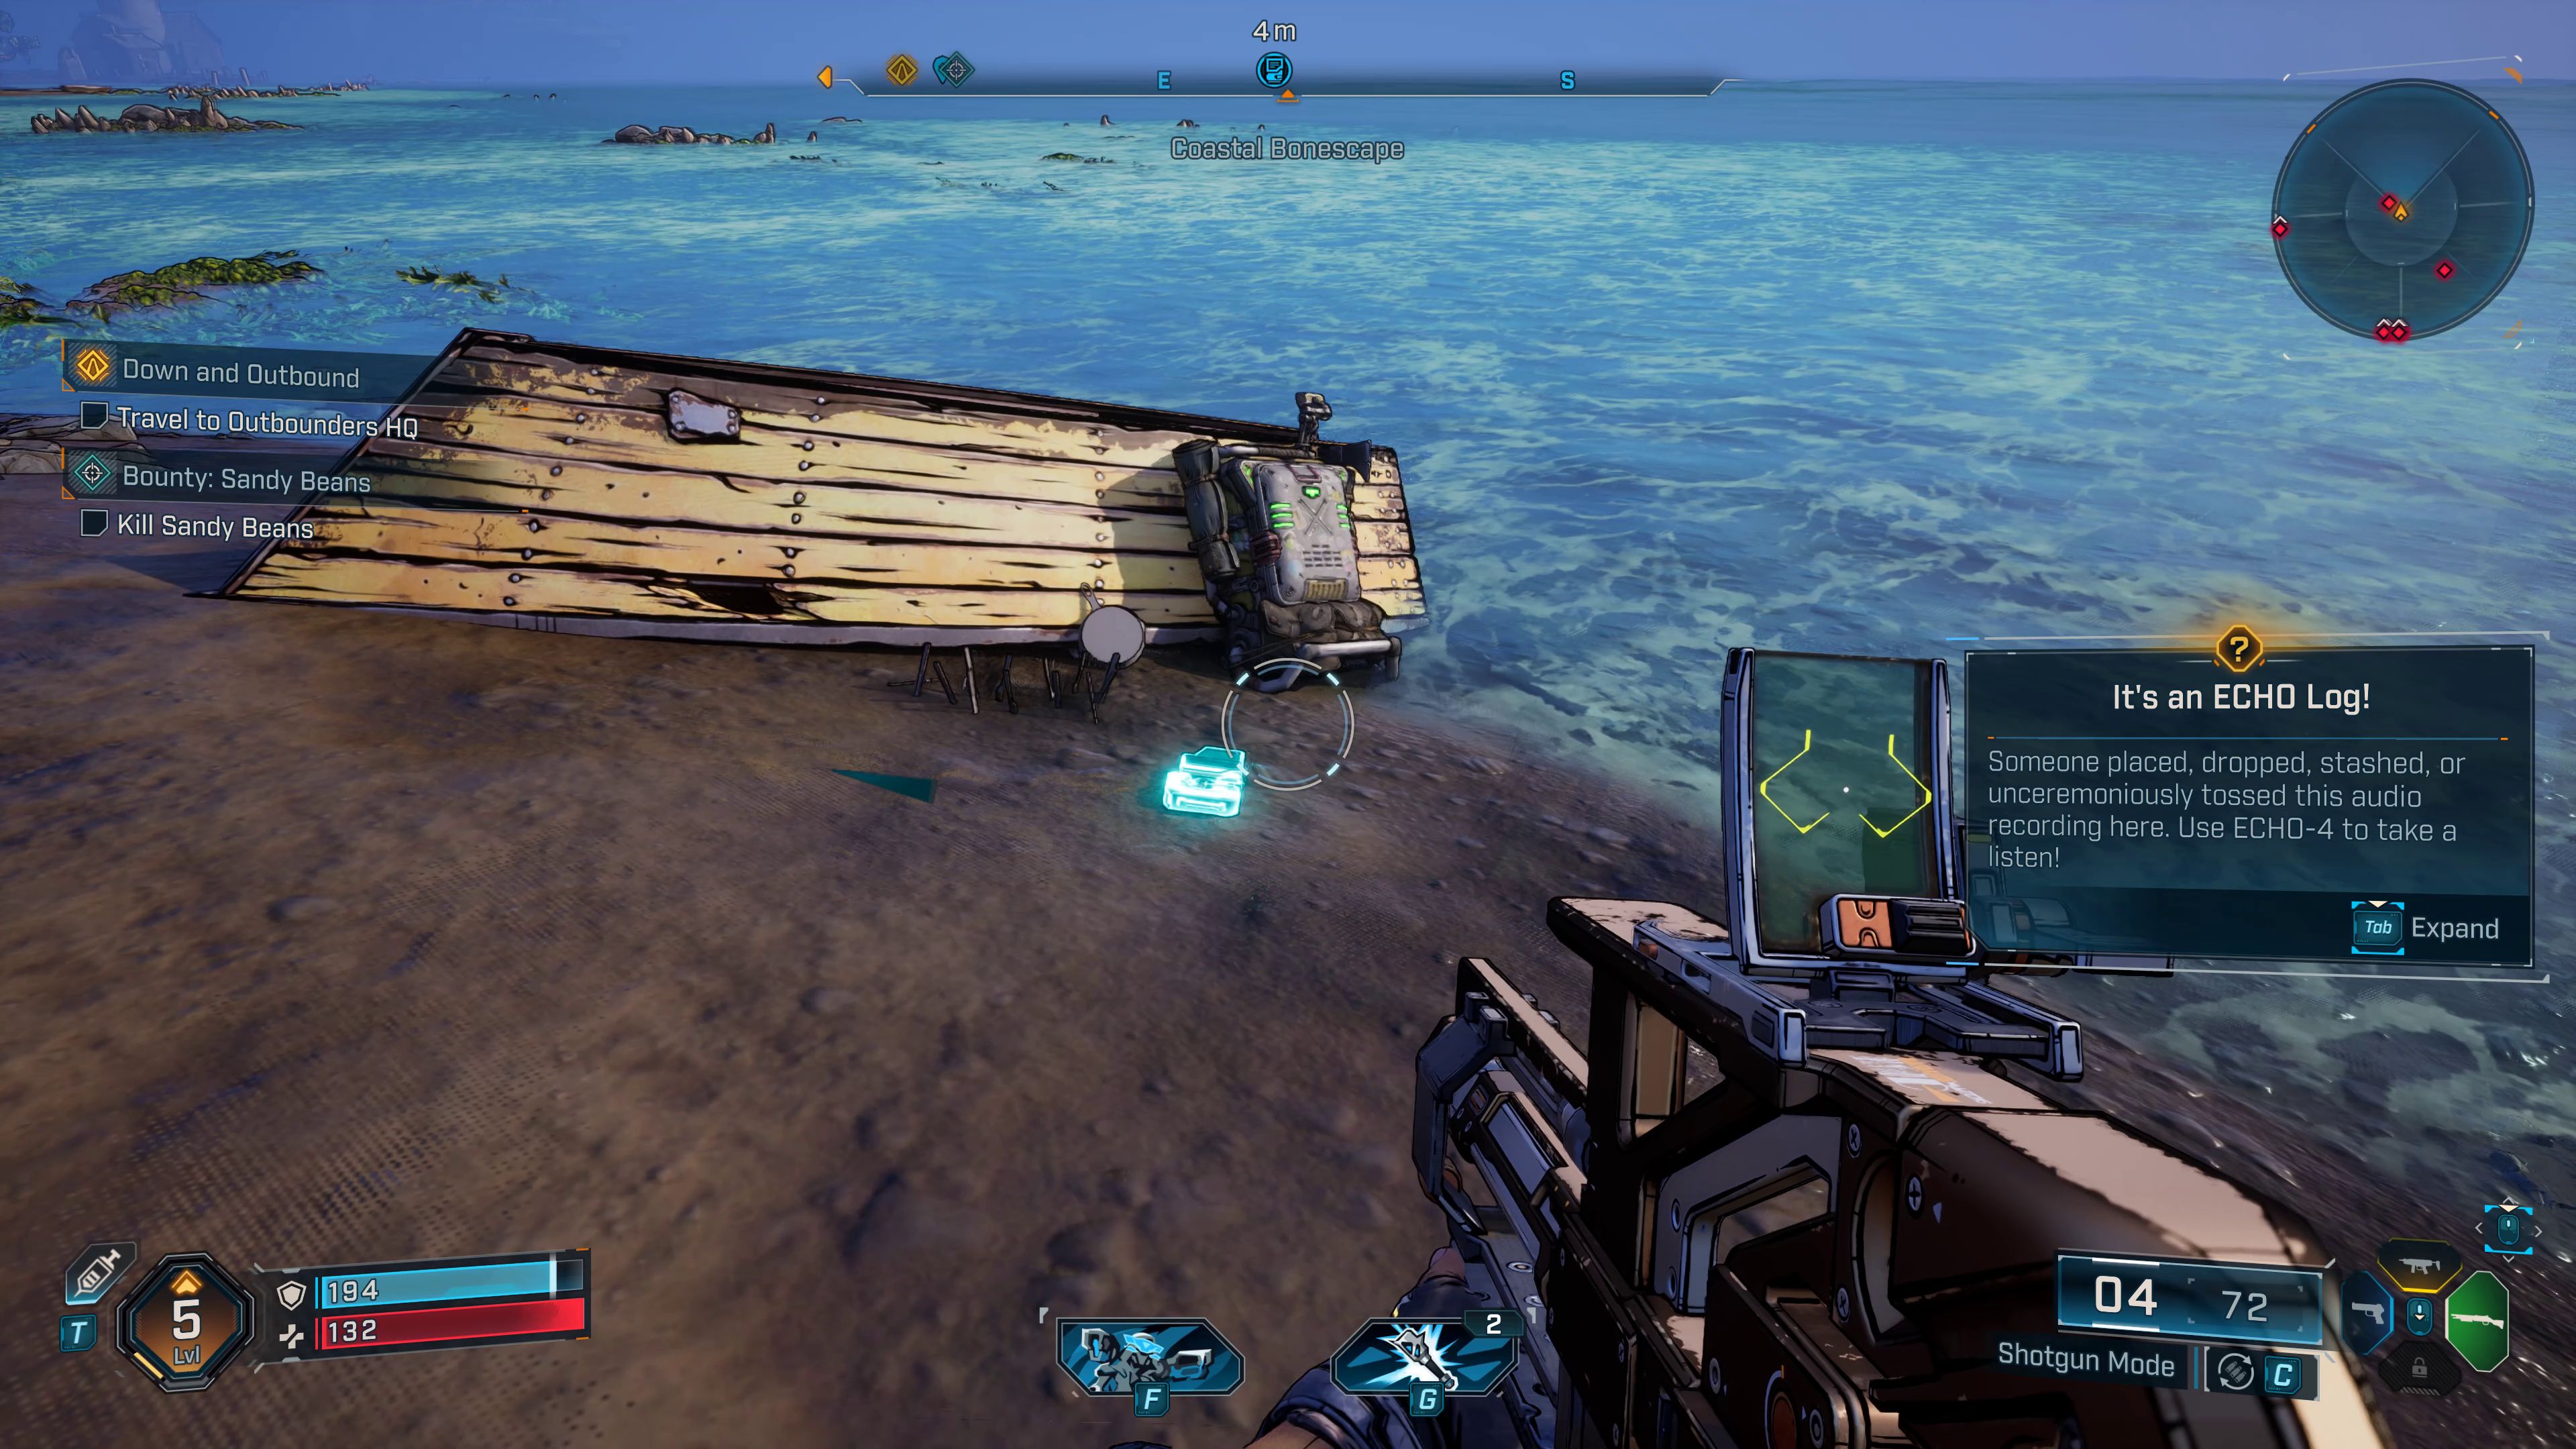
ECHO Log Collectibles in Hungering Plain
| Icon | Name & Description | |
|---|---|---|
|
|
Join the Crimson Resistance!"Woe is me! The Timekeeper is an evil despot who controls every waking moment of my miserable life, and there's nothing little ol' me can do about it!" That's you. That's what you sound like. Normally, you'd just be boned. But for those of you with gumption, chutzpah, and an immunity to fall damage, hope is just around the corner. And the name of that hope? The Crimson Resistance! The hip new offshoot of Pandora's galactically-famous Crimson Raiders, which has been kicking ass and saving asses for years! And Kairos is FULL of ass! But I can't shoulder all that responsibility myself. I'm just one heroic robot, and I don't even have shoulders! Just flaps! So join the Crimson Resistance! Because without us... you're dead! | |
|
|
What's in a Name?I could pull off a "Quinn". Or maybe, like, "Raven"? "Haze"... sounds... no. Ugh. Why is this so hard? Registration requires first name. Yeah, yeah, I heard you the last four times. You don't get it. Not only did I actually leave Cretia behind, but I have these cool, freaky powers now. Killing the old me requires a new name and it HAS to be perfect. The most popular female name in the Six Galaxies is currently... Blessica. Then the Six Galaxies have more issues than I thought. Ugh! Okay, who am I? I'm a hot and powerful force of nature with perfect taste in music and just the right amount of dark mystique. I have a ghost army, sick tattoos, and... the only thing I'm missing is a damn cool name! User is showing signs of vexation. Ugh. You know what, fine, just put in Blessica. Wait, no, what did you say? | |
|
|
A Poet's Life for MeI do not pray as others do. My worship takes a different form. My knees were not designed to kneel, my lips to praise, my hands to heal. I seek a god unknown, unsworn. To her I pledge the wicked. Until I rasp my dying breath, My steel shall feast on raging souls, Her altars lade with damned hides, with liars' tongues, and more besides. I carve for her a brimming bowl And fill it with the wicked. | |
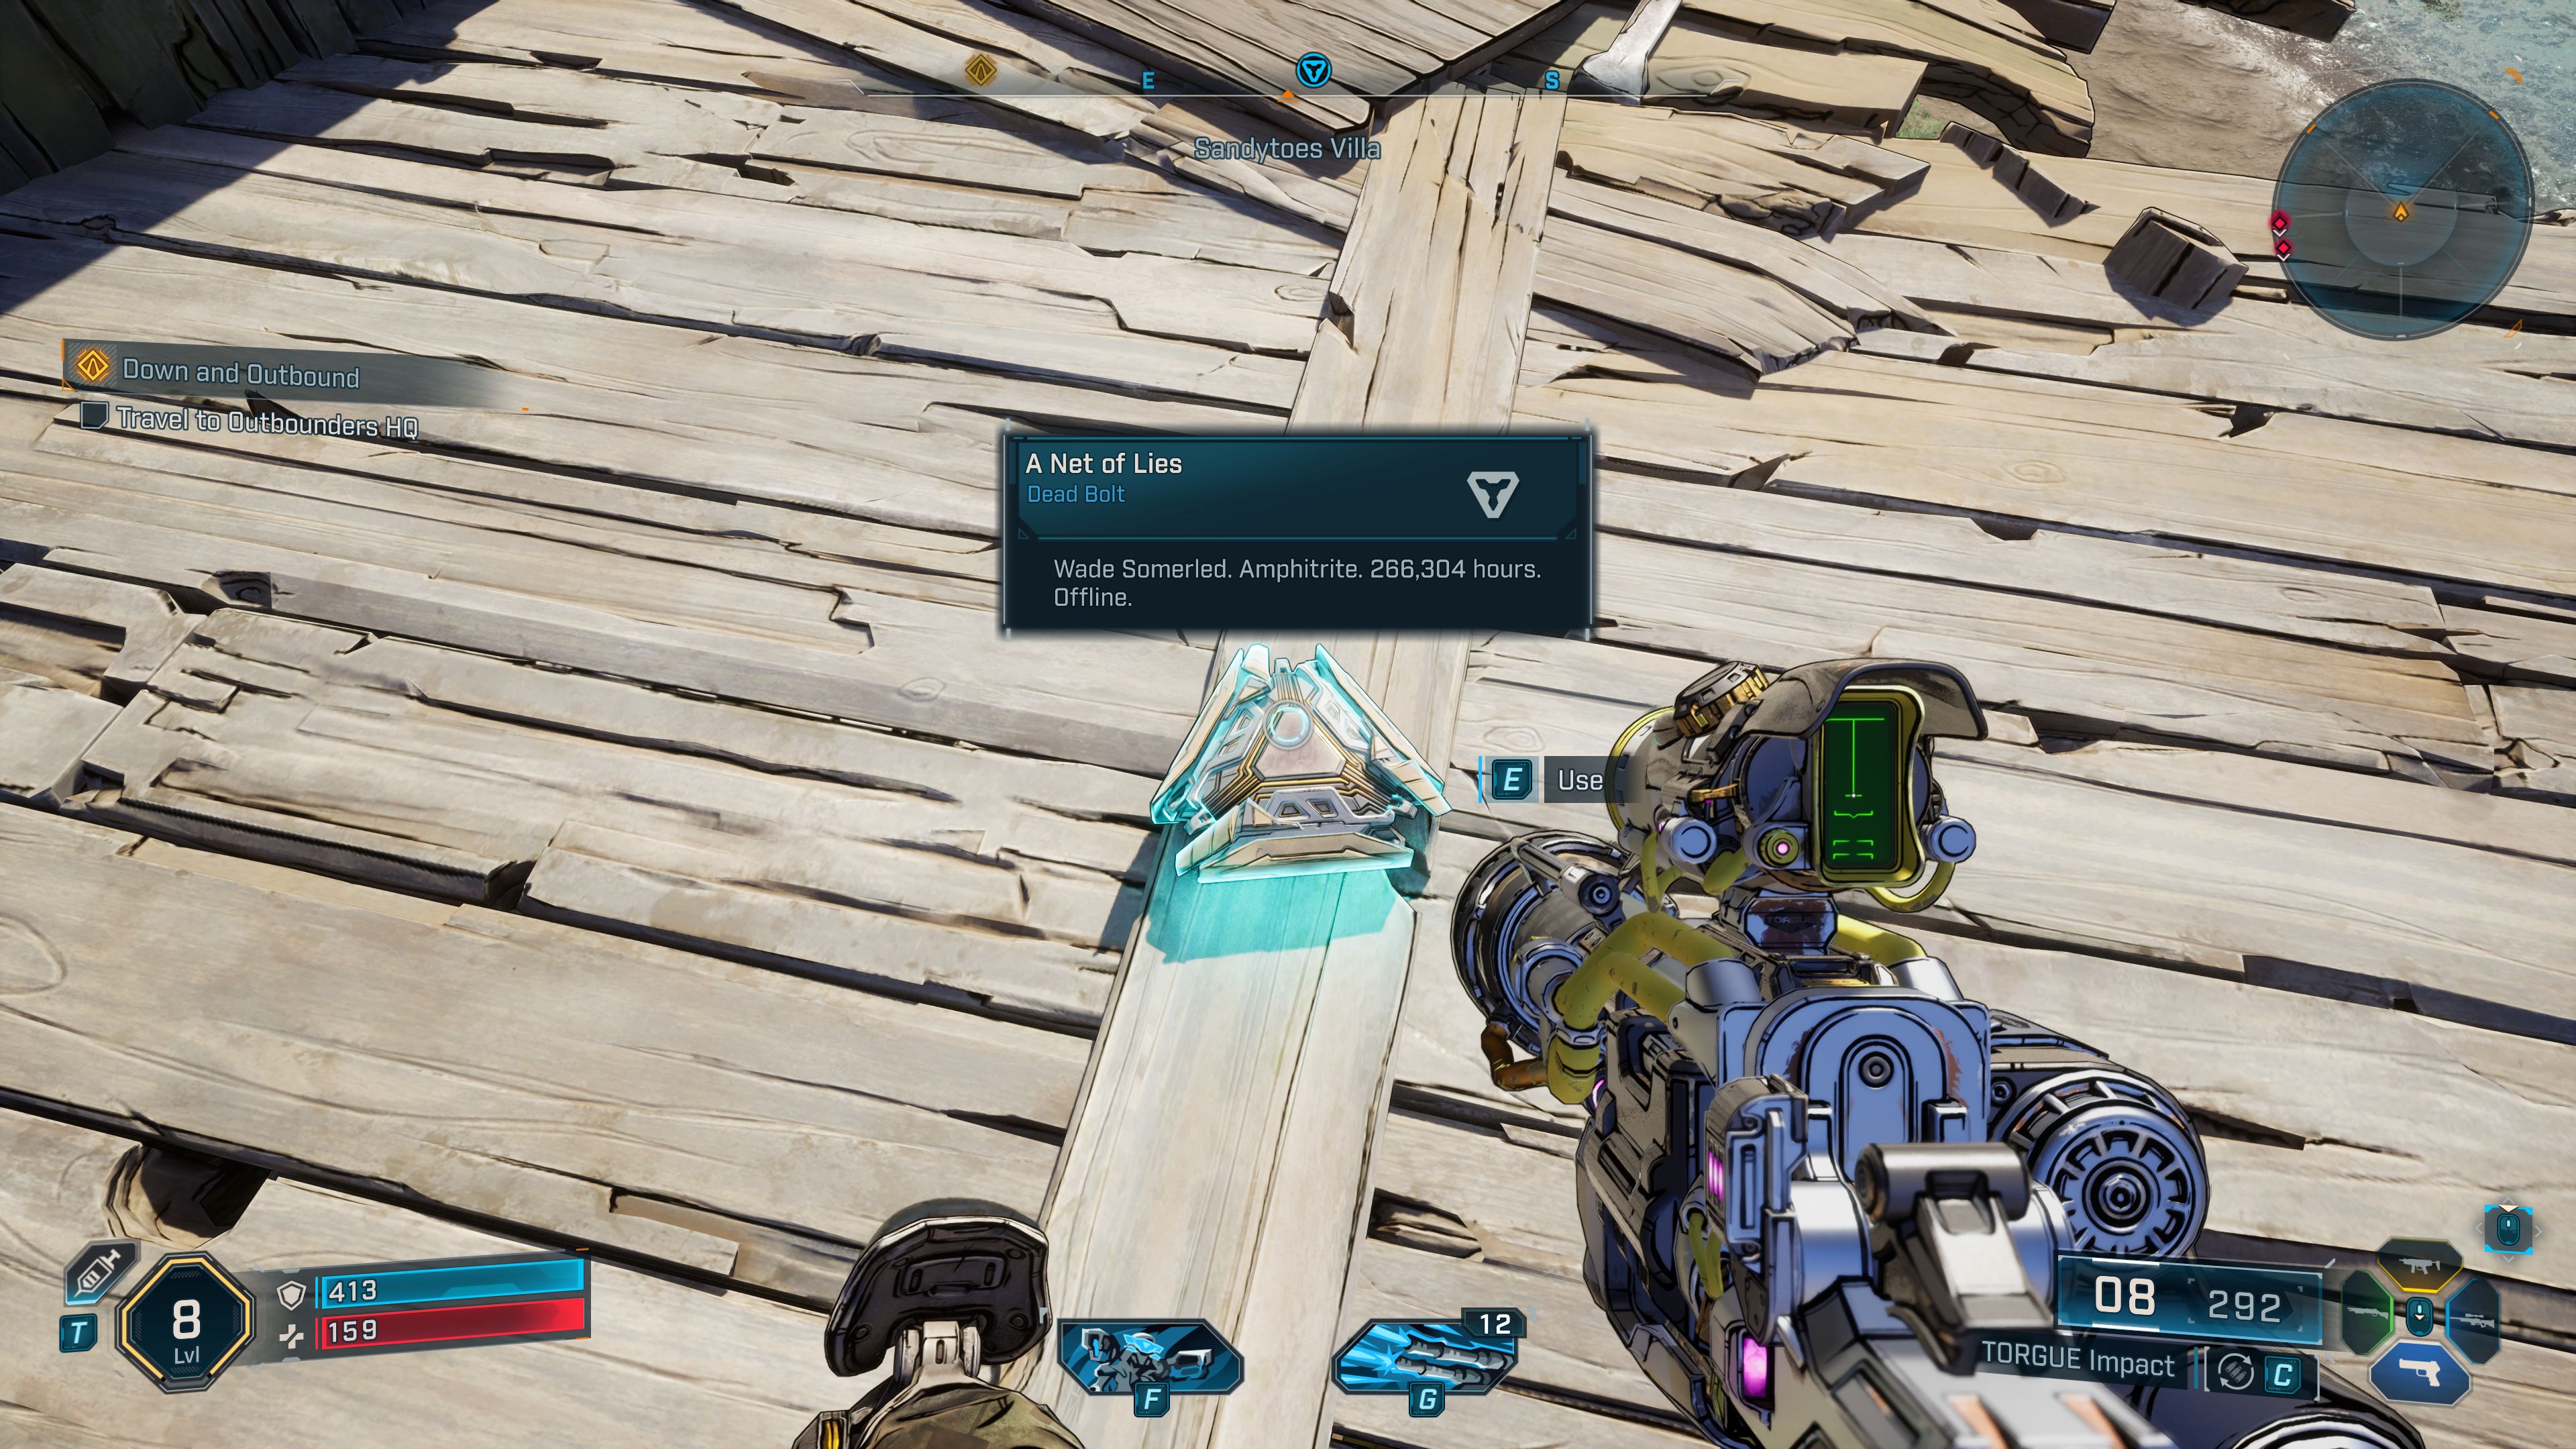
Dead Bolt Collectibles in Hungering Plain
| Icon | Name & Description | |
|---|---|---|
|
|
Night DriveName: Nestor Sorley, Origin: An, Initiated: 374 hours, Status: Offline Most Recent Inquiry: Turn left here? Really? Well, you got it, Mr. GPS. Al truly is our future. | |
|
|
Hazardous WorkplaceName: Maximiliano Villanueva, Origin: Hestias, Initiated: 37,668 hours, Status: Offline Most Recent Inquiry: I should've stayed in Finance. | |
Propaganda Speaker Collectibles in Hungering Plain
| Icon | Name | |
|---|---|---|
|
|
Propaganda Speaker 01The Propaganda Speaker is located on the roof of the building. You enter it through the gate next to the crossing. It's easy because enemies only come from one direction. | |
Evocarium Collectibles in Hungering Plain
| Icon | Name | Walkthrough |
|---|---|---|
|
|
Evocarium 01Evocarium Survival in Hungering Plain (Operant Control) I've had no lack of food and water since I arrived. My old life prepared me well for survival. But my powers have added another need. As a leech, it seems, I must feed regularly. I coaxed a small animal out from the hollow knot of a tree. A forager, like me. The way it darkened... turned hard... I think I will try to leech from the tree next time. |

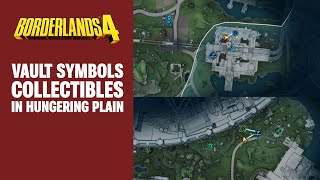
Vault Symbol Collectibles in Hungering Plain
| Icon | Name | |
|---|---|---|
|
|
Vault Symbol 01 |
|
|
|
Vault Symbol 02 |
|
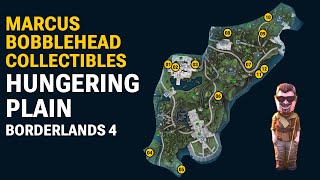
Marcus Bobblehead Collectibles in Hungering Plain
| Icon | Bobblehead | Walkthrough |
|---|---|---|
|
|
Bobblehead 01 |
|
|
|
Bobblehead 02 |
|
|
|
Bobblehead 03 |
|
|
|
Bobblehead 04 |
|
|
|
Bobblehead 05 |
|
|
|
Bobblehead 06 |
|
|
|
Bobblehead 07 |
|
|
|
Bobblehead 08 |
|
|
|
Bobblehead 09 |
|
|
|
Bobblehead 10 |
|
|
|
Bobblehead 11 |
|
|
|
Bobblehead 12 |
Points of Interest in Hungering Plain
| Icon | Name & Description | |
|---|---|---|
|
|
Horace's Oversight | |
|
|
Wreck of the Nostalgia | |
|
|
Operant Control | |
|
|
The Flarewell | |
|
|
The Debilitory | |
|
|
Purge Guard | |
Bosses in Hungering Plain
| Icon | Name & Description | |
|---|---|---|
|
|
SpymasterInside Horace's Oversight. |
|
|
|
Sidney PointylegsAt the end of The Prospects, Ripper Drill Site |
|
Borderlands 4 Map Legend
| Icon | Description | |
|---|---|---|
MissionsThere are Main Story Mission and Side Mission (including Faction Missions) in Borderlands 4. | ||
|
|
Main Mission (Story)The location where you complete the previous one and receive the next Borderlands 4 Story Mission. There are 25 Main Story Missions in Borderlands 4. After completing all Main Missions, i.e. completing the Borderlands 4 storyline, you will be able to return to previous locations to complete all previously unfinished activities. Story Missions guide you through the story of your adventure in the world of Kairos. You don't have to complete them first, you can pursue other activities between Story Missions. |
|
|
|
Side Mission GiverThere are about 100 Side Missions in Borderlands 4, including Faction Missions. It's worth doing them as soon as we find them, during breaks in Main Story Missions. Side Missions are unrelated to the main story, each has its own plot. They often form a series of missions, with completing one unlocking another. Each Side Mission starts in a specific location, there may be more than one of these locations, and offers a set of rewards for completing them. |
|
ActivitiesThere are 6 types of Activity Locations in Borderlands 4: Safehouse, Order Silo, Ancient Crawler, Ripper Drill Site, Order Bunker and Abandoned Auger Mine. Each Map in Borderlands 4 has its own set of Activities required to "complete" a given zone, but it may happen that not all Activities will be available from the moment you find them, some will open as you progress through the story. | ||
|
|
SafehouseTo take over the Safehouse, you have to find the Datapad with the key that opens it and use it on the Command Console. Once you take control of the Safehouse, it will serve as a Fast Travel Point and grant you access to the Vending Machines, Contract Board and Decrypt Station. There are 14 Safehouses in Borderlands 4. |
|
|
|
Contracts BoardContract Boards can be found inside captured Safehouses and in Faction Towns. Contract Boards can be used to acquire Bounty Contracts, simple tasks unrelated to Missions and Story that grant rewards and experience. |
|
|
|
Order SiloTo take control of the Order Silo, you must defeat the enemies guarding it and activate the console, which releases a communications balloon that detects the locations of Vault Fragments in the area. Once you acquire the Order Silo, it will serve as a Fast Travel Point and grant you access to the Vending Machines. There are 9 Order Silos in Borderlands 4. |
|
|
|
Communications BalloonThe Communications Balloon is released into the air from the nearby Order Silo. Besides discovering nearby Vault Fragments, it allows you to fly at high altitudes and reach previously inaccessible locations. To use the Balloon, approach it, attach to the engine on the rope, and you will be pulled upwards. How to fly far: It's important that when you're released from the rope at the top, don't start gliding. First, use the force that launched you into the air and use only the directional keys to head towards your desired destination. Only at the final moment of the flight, when you feel like you're falling too quickly, begin gliding. |
|
|
|
Ancient CrawlerTo complete Ancient Crawler you must kill enemies in this area, find the battery, deposit it in the station and climb to the top of the tower to collect the item. There are 11 Ancient Crawlers in Borderlands 4. |
|
|
|
Ripper Drill SiteTo complete the Ripper Drill Site, you must survive the growing waves of enemies and hold out until the Boss appears, which you must kill. There are 6 Ripper Drill Sites in Borderlands 4. |
|
|
|
Order BunkerEnter Order Bunker, explore it and kill boss. You can enter Order Bunkers after Main Mission 5: One Fell Swoop. Visiting the Order Bunkers is available later in the story, after completing Main Mission 5: One Fell Swoop. There are 6 Order Bunkers in Borderlands 4. |
|
|
|
Abandoned Auger MineTo finish the Abandoned Auger Mine, enter the cave, find and kill its boss. Visiting the Abandoned Auger Mines is available later in the story, after completing Main Mission 11: Shadow of the Mountain. There are 7 Abandoned Auger Mines in Borderlands 4. |
|
CollectiblesThere are over 300 Collectibles in Borderlands 4 and the are: Vault Fragments, ECHO Logs, Dead Bolts, Vault Hunter’s Guides to Kairos, Vault Symbols, Evocatoriums, Survivalist Caches, Auger Shrines, Electi Safes, Propaganda Speakers, Lost Capsules and Marcus Bobblehead. Not all Collectibles in Borderlands 4 are available when you first visit a given location; some of them are available later in the game's story, e.g. while completing specific Missions or in locations locked at the beginning. | ||
|
|
Vault Key FragmentVault Fragments are used to open Primordial Vaults. You need three fragments for one key. The location of the Vault Fragments is shown by a released Communications Balloon. There are 9 Vault Key Fragment Collectibles in Borderlands 4. |
|
|
|
ECHO LogECHO Logs are lost audio recordings you find while exploring Kairos, introducing you to the lore of the world and supplementing other content you encounter in the story. There are about 150 ECHO Log Collectibles in Borderlands 4. |
|
|
|
Dead BoltDeadbolts are fragments of information contained in small metal objects. There are 39 Dead Bolt Collectibles in Borderlands 4. |
|
|
|
Vault Hunter’s Guide to KairosVault Hunter’s Guides to Kairos are necklaces containing audio recordings about the game world. There are 12 Vault Hunter’s Guide to Kairos Collectibles in Borderlands 4. |
|
|
|
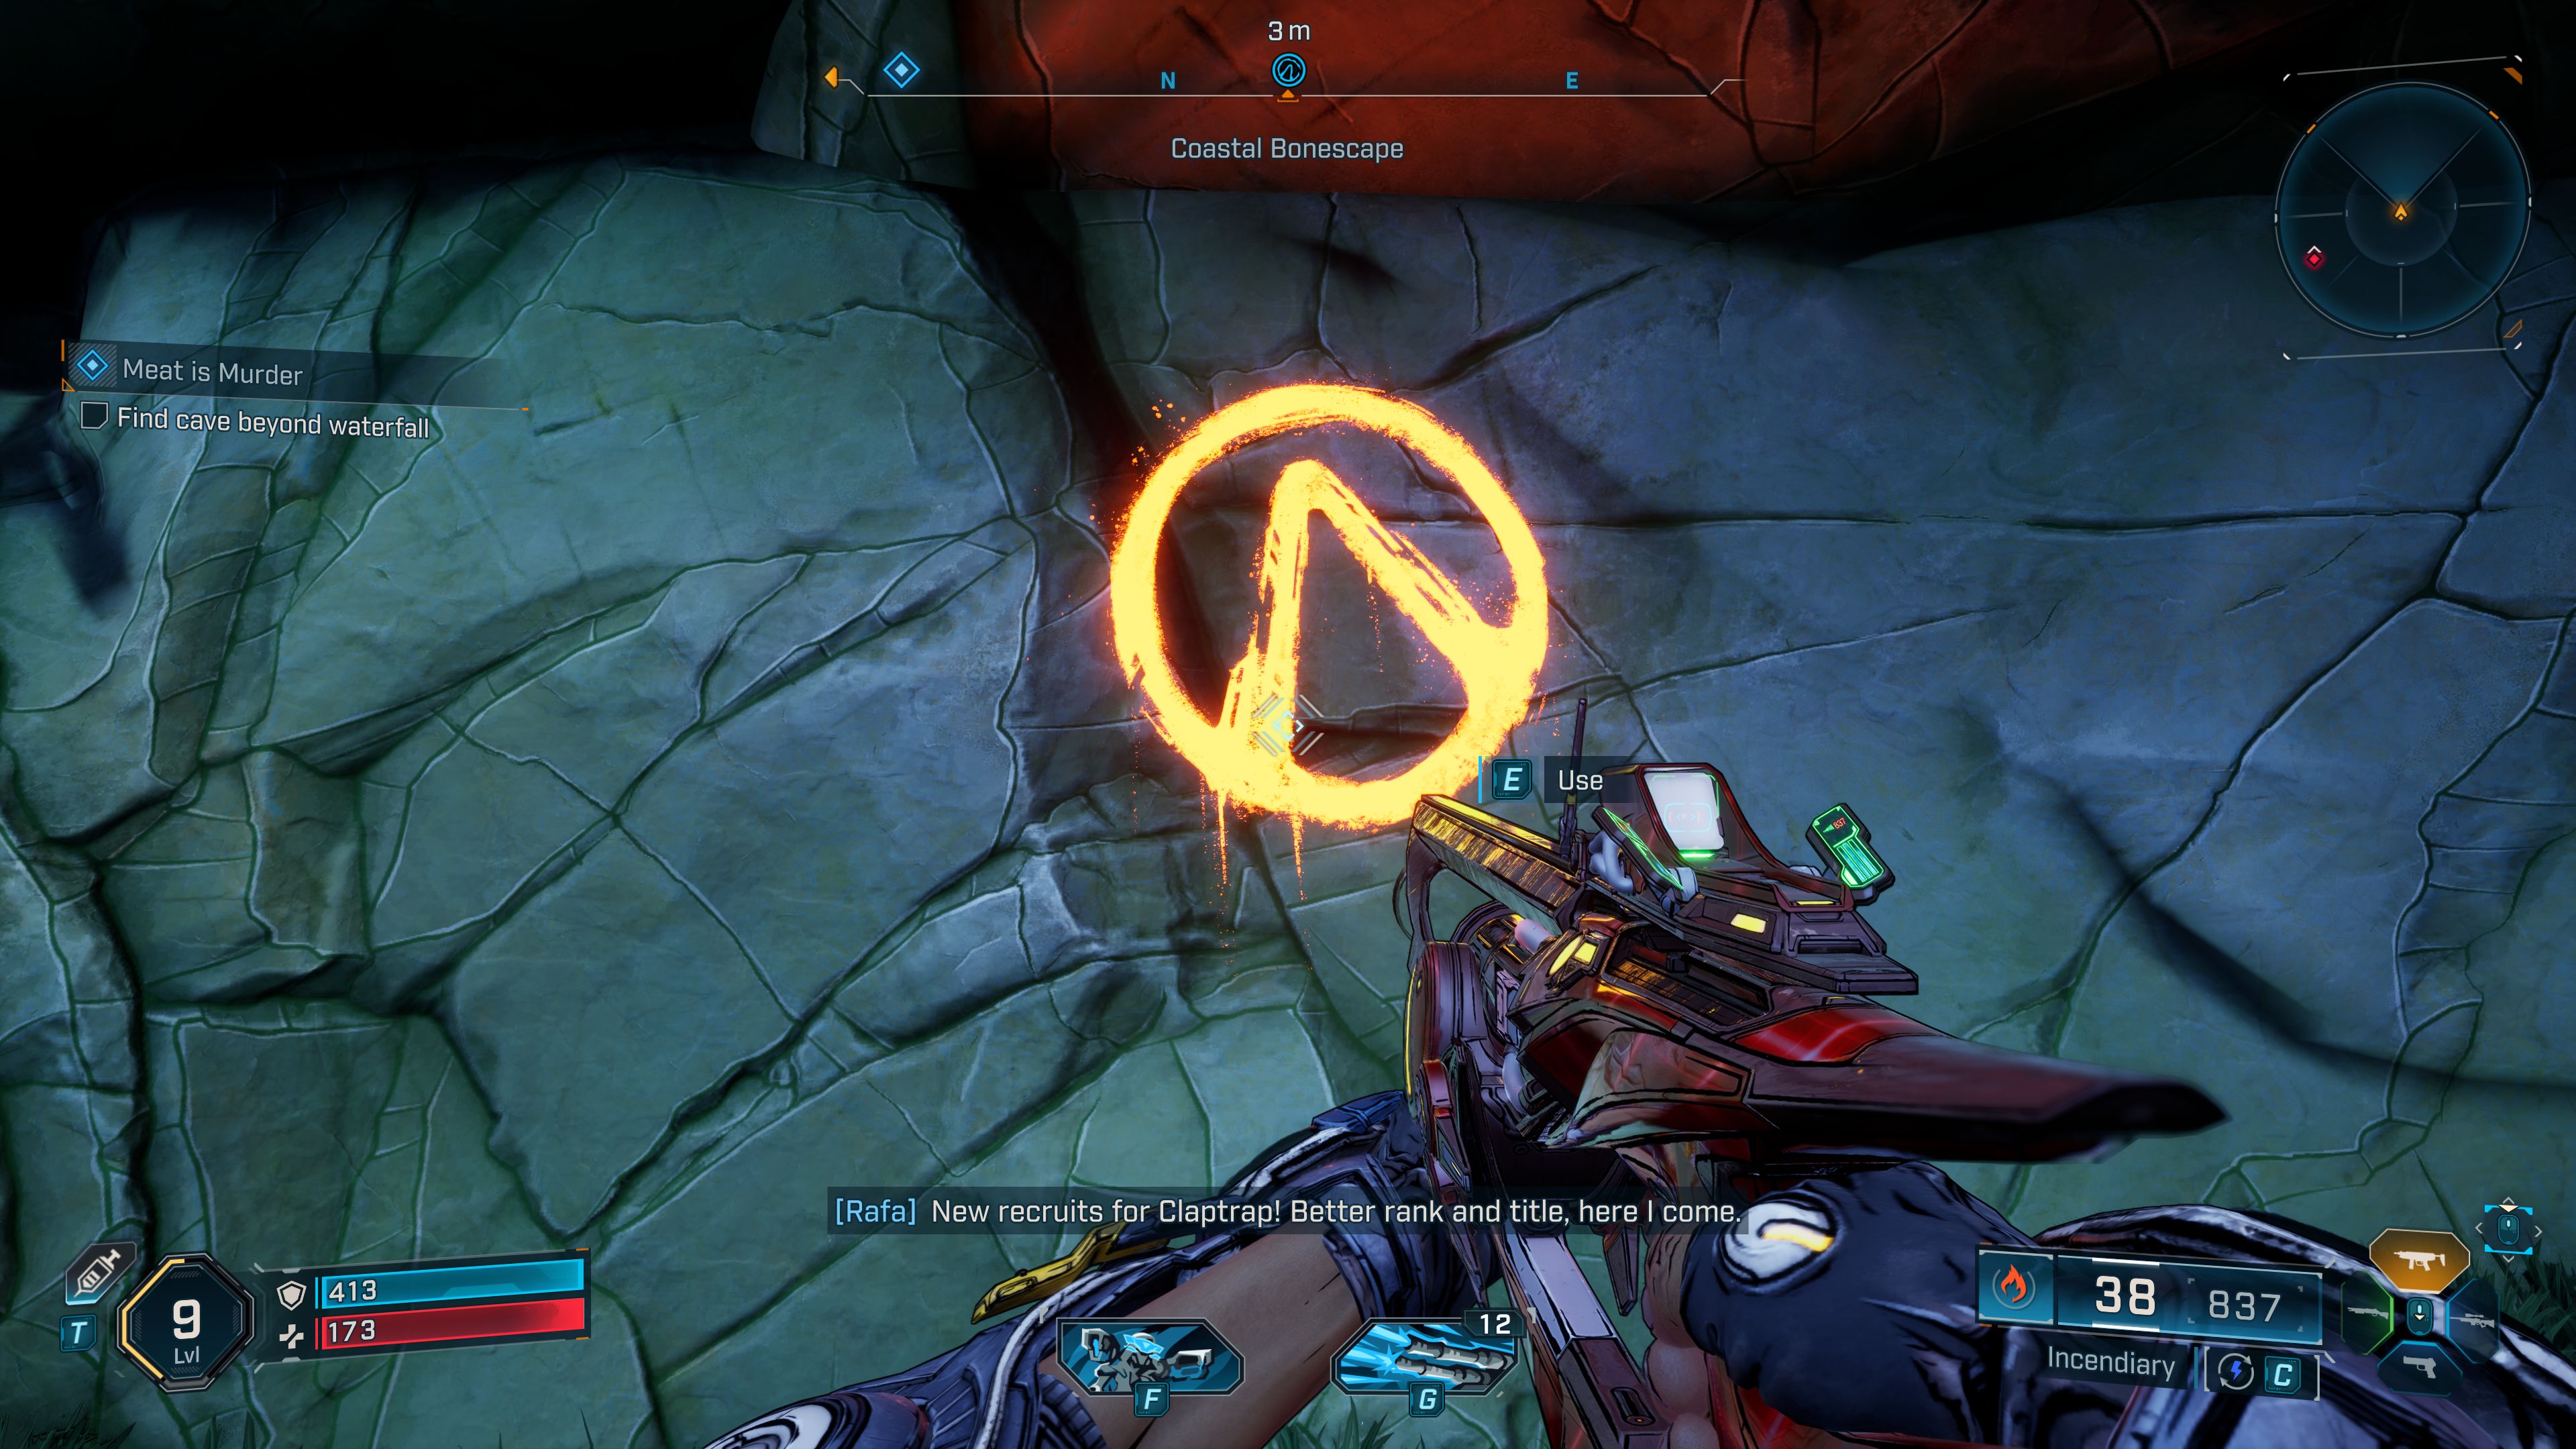
Vault SymbolVault Symbols are Vault Hunters symbols painted on the walls with yellow paint. There are 46 Vault Symbol Collectibles in Borderlands 4. |
|
|
|
EvocariumEvocariums are simple puzzles you must solve. Solving an Evocarium involves interacting with the central object and tracking down and finding the three glowing orbs that the beams will guide you to. At the end, you will receive a message. There are 18 Evocarium Collectibles in Borderlands 4. |
|
|
|
Survivalist CacheSurvivalist Caches can only be found on maps in The Fadefields region, they are large crates with weapons and equipment. There are 10 Survivalist Cache Collectibles in Borderlands 4. |
|
|
|
Auger ShrineYou can pray at the Auger Shrines, they are only found in the Terminus Range Region. There are 10 Auger Shrine Collectibles in Borderlands 4. |
|
|
|
Electi SafeLittle Electi Safes, hit to open, they are only found in Carcadia Burn and Dominion City Regions. There are 13 Electi Safe Collectibles in Borderlands 4. |
|
|
|
Propaganda SpeakerECHO-4 will hack the Propaganda Speaker while you defend it from incoming waves of enemies. You cannot leave the Propaganda Speaker area until ECHO-4 completes the task. There are 27 Propaganda Speaker Collectibles in Borderlands 4. |
|
|
|
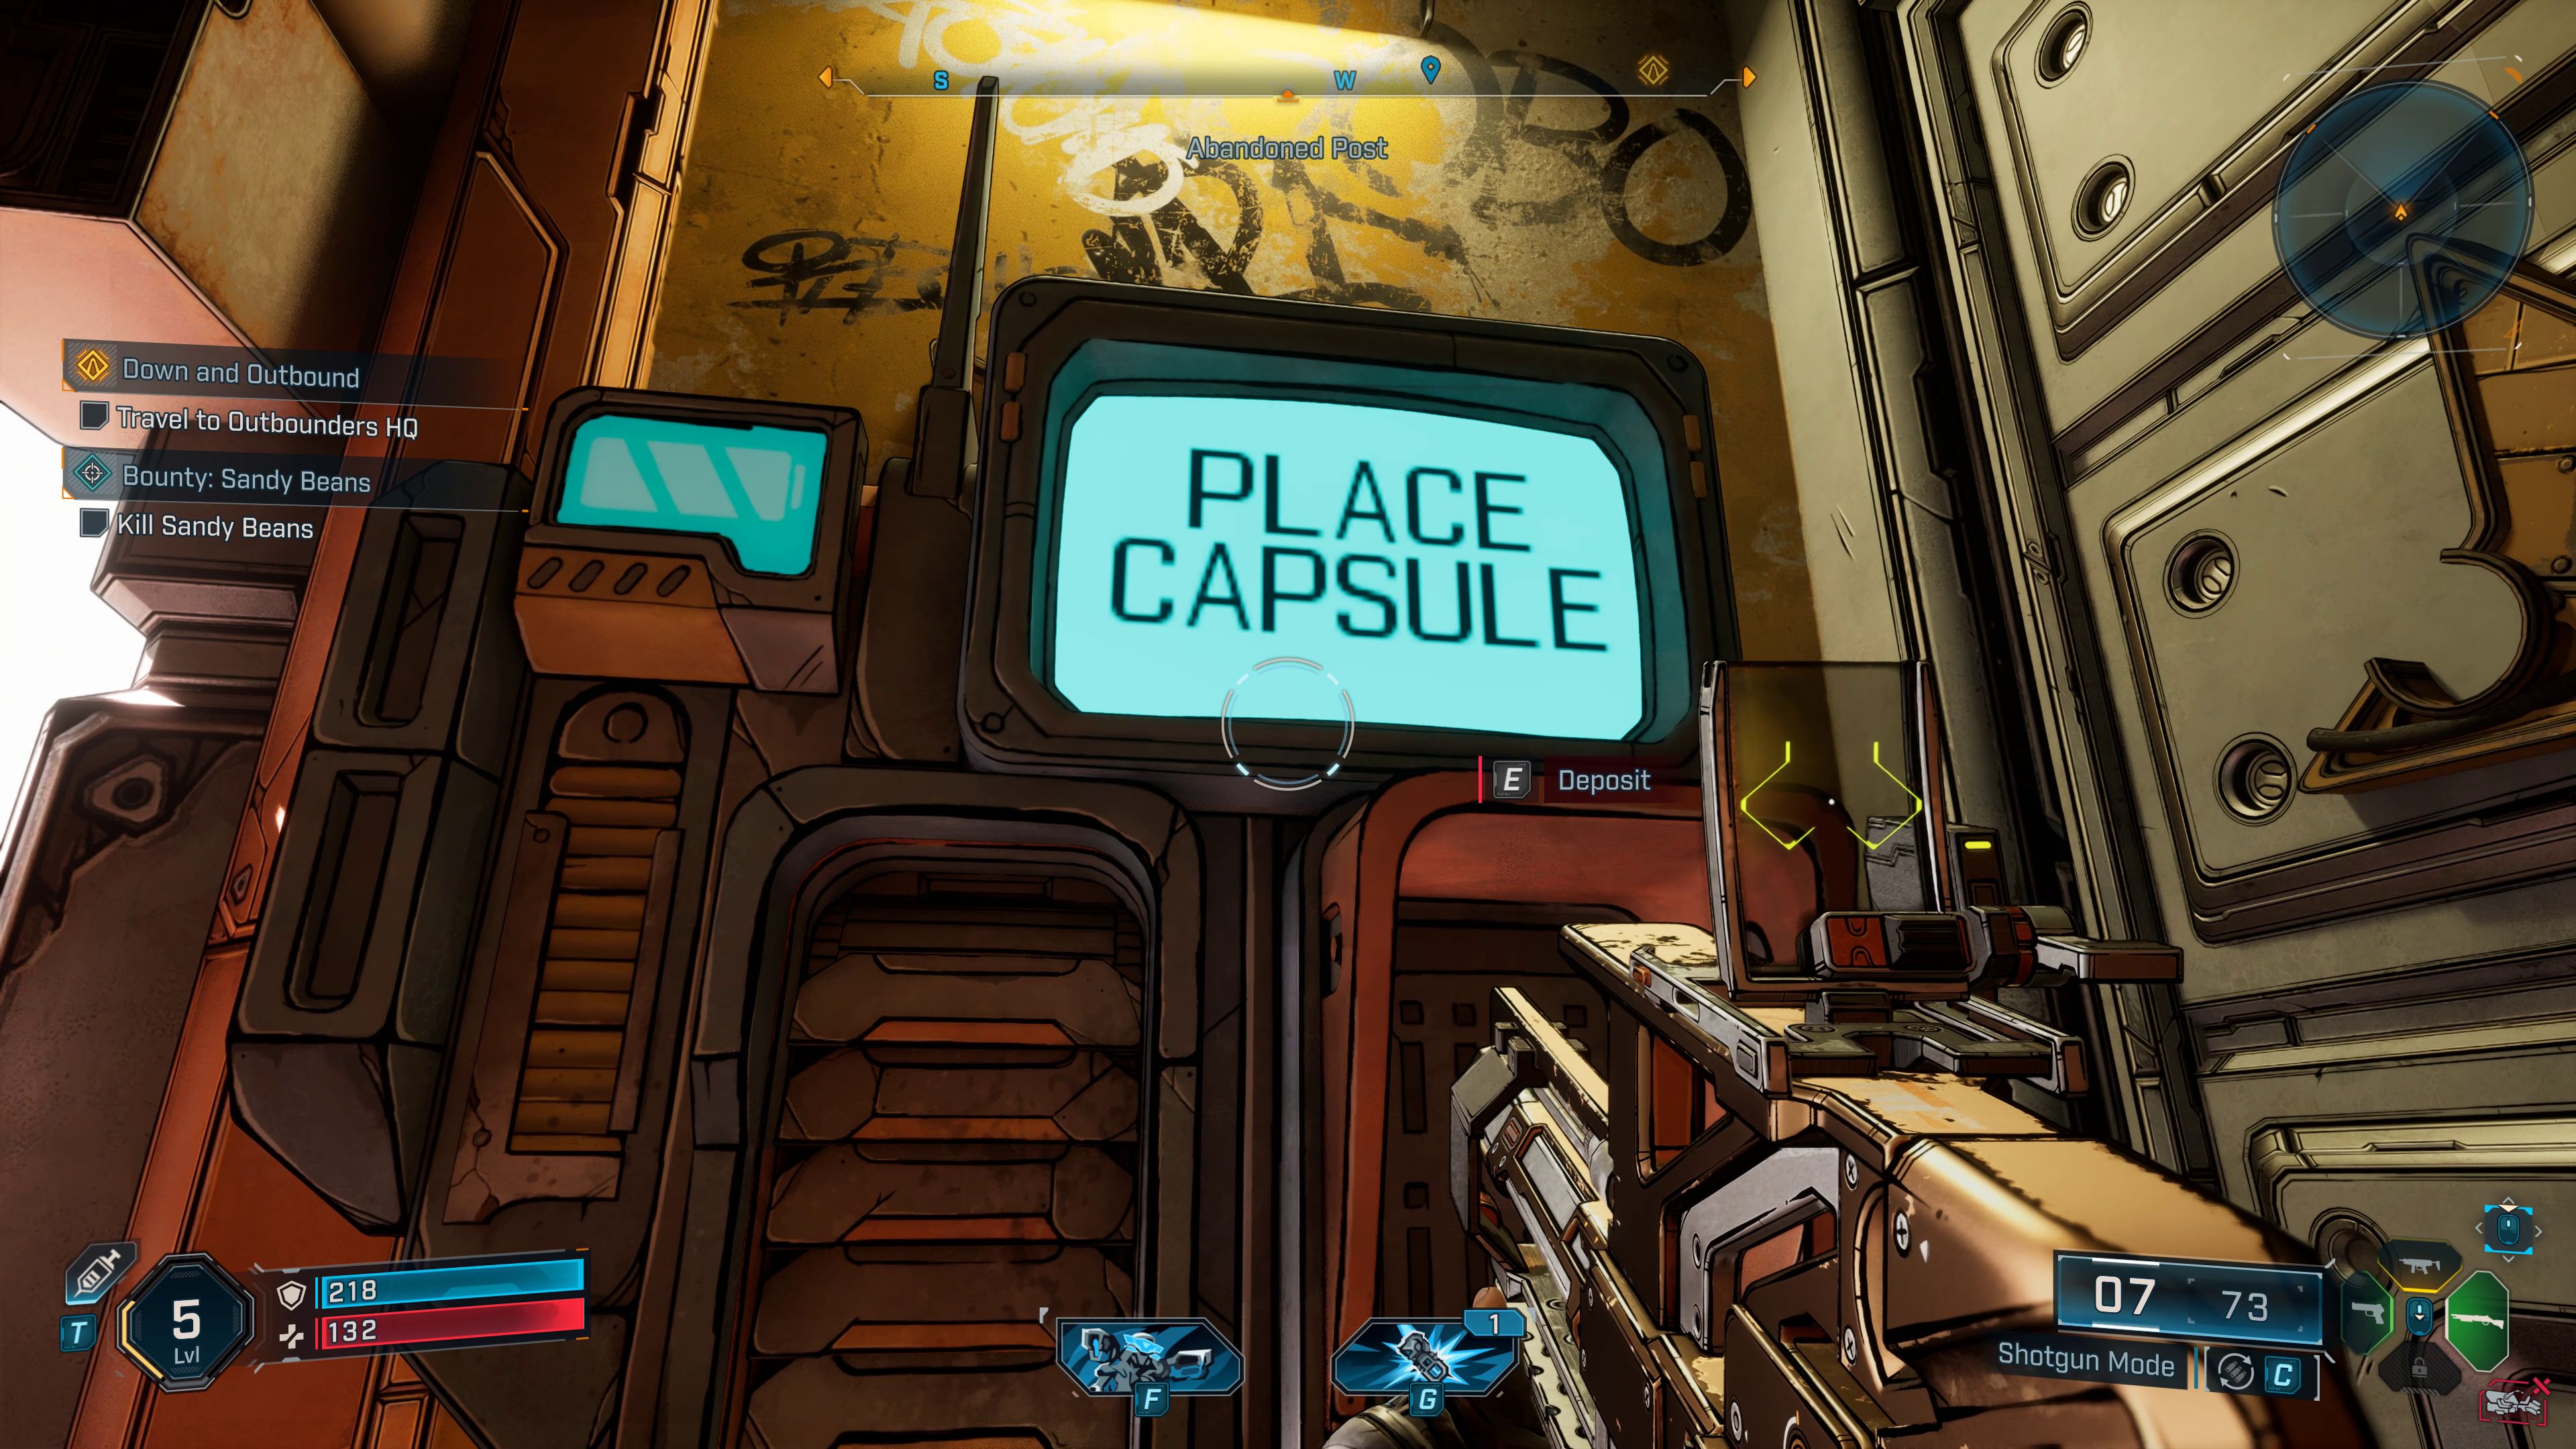
Lost CapsuleThe Lost Capsule Collectible is an encrypted code to the Crimson Resistance Supply Cache. Once you find it, you must take it to the Safehouse and use the Decrypt Station to decode it. You must return the Lost Capsule to the Safehouse on foot, holding it in your hand at all times. You'll receive a reward for doing so. There are 20 Lost Capsule Collectibles in Borderlands 4. |
|
|
|
Marcus BobbleheadMarcus Bobbleheads are a special type of hidden collectible in Borderlands 4. They are not marked on the map and are located in less frequented areas during normal gameplay. These are small figurines that you must find and click. Randy Pitchford, founder of Gearbox Software, the creator of Borderlands 4, has announced that finding all the Marcus Bobbleheads will be the ultimate challenge in Borderlands 4, one that only a select few players will be able to complete. Finding all the Marcus Bobbleheads does not affect the game's story or completion. There are over 200 Marcus Bobblehead Collectibles in Borderlands 4. |
|
Other Locations | ||
|
|
Point of InterestVisit all Points of Interest on the map. |
|
|
|
Faction Town |
|
|
|
Fast Travel Station |
|
|
|
Level Travel Station |
|
|
|
Active CheckpointThe location where you respawn after death. The Active Checkpoint location is selected automatically and will be the last checkpoint near which you died. |
|
|
|
Boss |
|
|
|
Fortress |
|
|
|
Vault EntranceEntrance to Primordial Vault, A special location, a labyrinth ending with a fight with the Vault Guardian Boss. There are 3 Primordial Vaults (one for each region except Dominion) in Borderlands 4. You need 3 Vault Key Fragments per key to enter. |
|
Vending | ||
|
|
Bank of Kairos |
|
|
|
Zed's Meds Vending Machine |
|
|
|
Zed's Munitions Vending Machine |
|
|
|
Ammo Vending Machine |
|
|
|
Lost Loot MachineThe Lost Loot Machine collects equipment inadvertently left behind but not dropped on the ground. Items can be recovered, inspected and trashed within the machine. When at capacity, equipment of lower quality and level are automatically replaced. |
|
|
|
Respec Machine |
|
|
|
Firmware Transfer Machine |
|
Weekly ActivitiesWeekly Activities will be available after completing the Borderlands 4 storyline. | ||
|
|
Maurice's Black MarketHidden Vending Machine with Legendary Item every week. |
|
|
|
Moxxi's Big EncoreYou can replay the fight with the selected Boss in a more difficult version. |
|
|
|
Wildcard Mission GiverYou can replay selected Mission in a more difficult version and get Legendary Item reward. |
|
User Comments
All your comments, suggestions and corrections are very welcome. Your experience in the game will help other players. I will read each of your comments and try to add to the content on this page based on them. Thank You.