
Laslea Glen Map & Walkthrough for The Blood of Dawnwalker
Uncovered and annotated Laslea Glen Map for The Blood of Dawnwalker features a recommended exploration order and a walkthrough covering quests, secrets, puzzles, and key locations. Laslea Glen is the first fully accessible region after the Prologue. You can use this time to wrap up any quests you missed earlier.

Laslea Glen Walkthrough & Map Overview
You just finished the "Bad Blood" story quest in the Silver Mines. It's the morning of the next day. First, we'll wrap up the Prologue. After that, we'll explore the entire Laslea Glen region to clear out the remaining quests and track down its secrets.
Let's start by finishing the "Smoke and Ashes" story quest to push the story forward.
01 Anca's Hut
You wake up inside Anca's Hut in Laslea Glen. It is morning.
Smoke and Ashes Quest Walkthrough
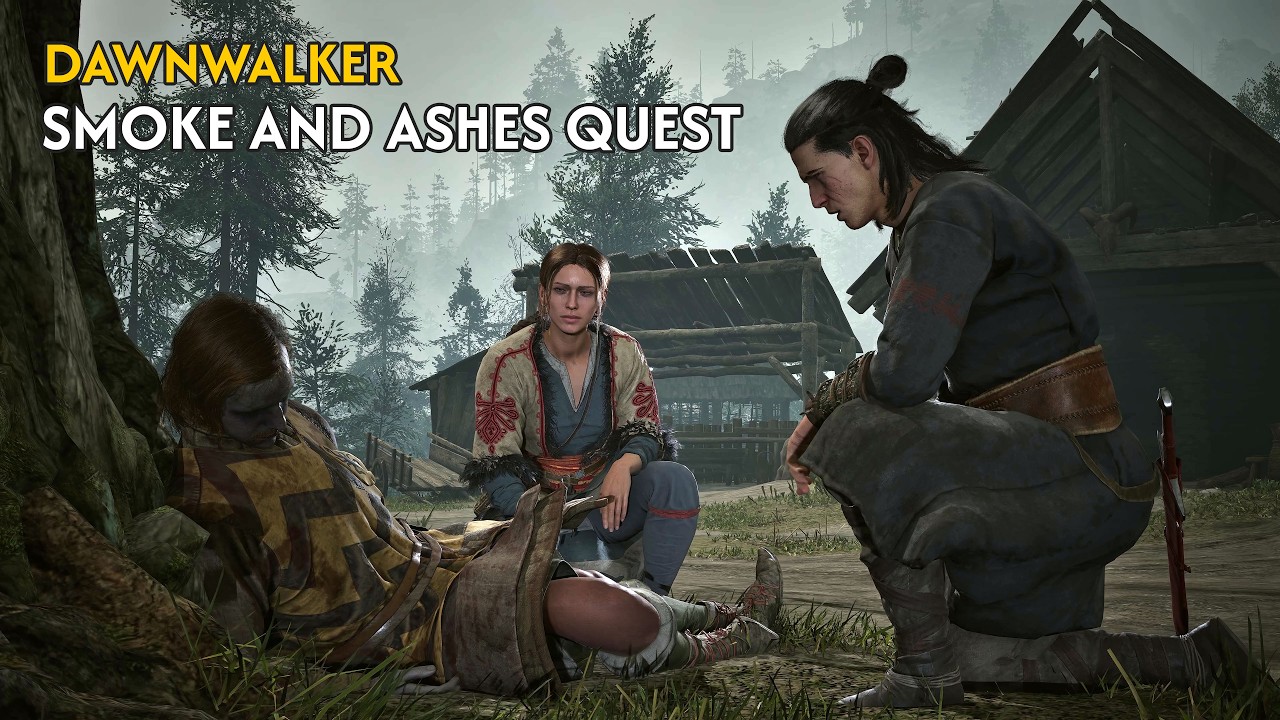
Conclude the Prologue by completing the Smoke and Ashes quest. Watch how to safely leave Laslea Glen and unlock the full open-world exploration of Vale Sangora.
Lore: Laslea Glen
Once a silver mining village, Laslea was forced by Brencis into a harsh agricultural existence where locals endure back-breaking labor just to survive the winter.
Laslea, my home, was once mainly a mining village. But after Brencis became knyaz, he closed down the silver mines. Since then, we've been farmers and herders. Our life may seem peaceful and quiet to some, but it's mainly back-breaking labor from dawn till dusk - no matter the weather. If we don't have enough food before winter, we'll starve.
Talk to Anca and walk with her to the village and see what is left after the night attack.
02 Middle of Laslea
For "Smoke and Ashes" quest.
Talk to Anca and go to search your family home.
03 Coen's House
For "Smoke and Ashes" quest.
Investigate the clues you find along the way and inside the house, then return to Anca.
02 Compel Soul
For "Smoke and Ashes" quest.
Returns with Anca to center of the village.
She teaches you Compel Soul, a skill that lets you talk to the dead.
Lore: Magic
Anca taught me to cast forbidden blood hexes by carving symbols into my skin, and despite the severe risks to my soul and the wrath of the Inquisition, I will use these dark arts to defeat Brencis.
Vrakhiri may have powers humans can only dream of, but it turns out that there are other arcane arts out there ... And Anca showed me how to access them. To cast a hex you first have to carve its symbol on your skin, and then draw some of your own blood. It feels ... wrong, but also good.
And the cost? For one, it's forbidden. In places where the Inquisition operates, casting a hex or even being seen with symbols on your arms would put you in prison, or worse. And besides, who knows what the source of these powers is, or what we let into our souls when we practise this dark art?
But I don't have a choice. If it helps me defeat Brencis, I'm going to use it, no matter what.
Use Compel Soul on the dead soldier. To make Compel Soul work better, you need to gather three items linked to the soldier from around the corpse: a Trampled Apple, Brencis's Banner, and a Drinking Gourd.
Show these items to the dead soldier during Compel Soul. You learn that your family and the other villagers were taken to Greifberg Castle.
Bury the bodies of the fallen.
Lore: Greifberg Castle
Knyaz Skender built the imposing stone walls of Greifberg Castle to deter rebel attacks, but the fortress failed to stop Brencis from seizing it and throwing my family into its dungeons.
Looking at Greifberg Castle, you might think it has towered over Svartrau for centuries. But it was actually built just thirteen years ago. Before that, a much less impressive stronghold stood there - one made mostly of wood, with only a few crucial parts fortified with stone.
But I heard that Knyaz Skender had been fantasising about a proper castle for years. He started building it right after taking over. And then, in AD 1333, after the infamous Shrike's Crag massacre, he pressed on even harder, possibly worried the rebels might strike again. They never did, and three years later the castle was finished.
Skender boasted that this imposing castle would keep all his enemies at bay ... But its walls were no great obstacle for Brencis. He took over the castle, along with its dungeons, where he imprisoned my family.
04 Laslea Gate
For "Smoke and Ashes" quest.
- Talk to Anca.
- Unblock the village gate.
- Talk to Anca again.
- This concludes the "Smoke and Ashes" quest and the Prologue in The Blood of Dawnwalker.
After talking to Anca and getting the gate open, two new quests pop up in your Journal:
- "Echoes of Silenced Bells" from Anca sends you to St. Tyna's. We are skipping this for now. It is way too hard at this point and drags you across the entire map, so we will circle back to it later.
- "The Firebrand" also takes you outside Laslea Glen. We are putting this on hold as well, clearing only the single step we can actually handle while still in Laslea.
"The Firebrand" quest takes you outside the Laslea Glen region. Hold off on doing it until you clear every activity and quest in Laslea Glen.
05 Church Tower in Laslea - scout the area
The Church Tower in Laslea is first of the Scouting Towers you run into after finishing the Prologue in Vale Sangora.
These towers play a major role in the game. Scouting Towers let you scan the area for nearby activities and mark them right on your map.
You can access Scouting Towers only at night. Getting to the top requires Vampire skills like Shadowstep or Planeshift.
You can track down 11 of Scouting Towers across Vale Sangora. Climbing every single one gets you the "Bird’s-Eye View" achievement.
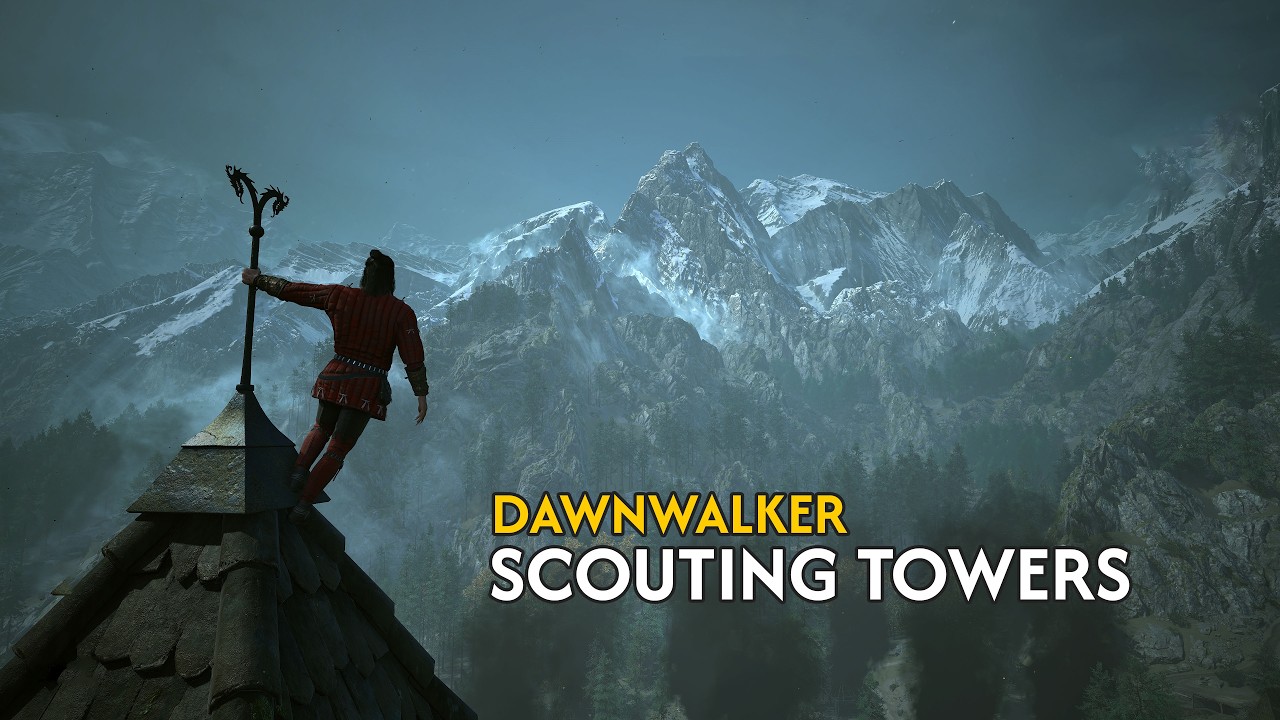
- Climb to the top of the tower.
- Loot the chest to grab Vrakhir's Band and the Frugal Witchcraft Manual.
- Look around the area to spot any undiscovered locations.
Once you head back down from the tower, take a lap around the Church and grab all the items inside the walls. You can do this safely since the area is completely deserted.
06 Vlad Hut.
For "The Firebrand" quest.
Search Vlad's Hut and find the clues pointing to Mert's Mill.
The Firebrand Quest WalkthroughWe will hold off on the next steps for "The Firebrand" quest for now.
07 The outcasts's burial ground
I found fresh flowers on top of an old, forgotten grave, [Inspect] grave.
Dead Drop Quest Walkthrough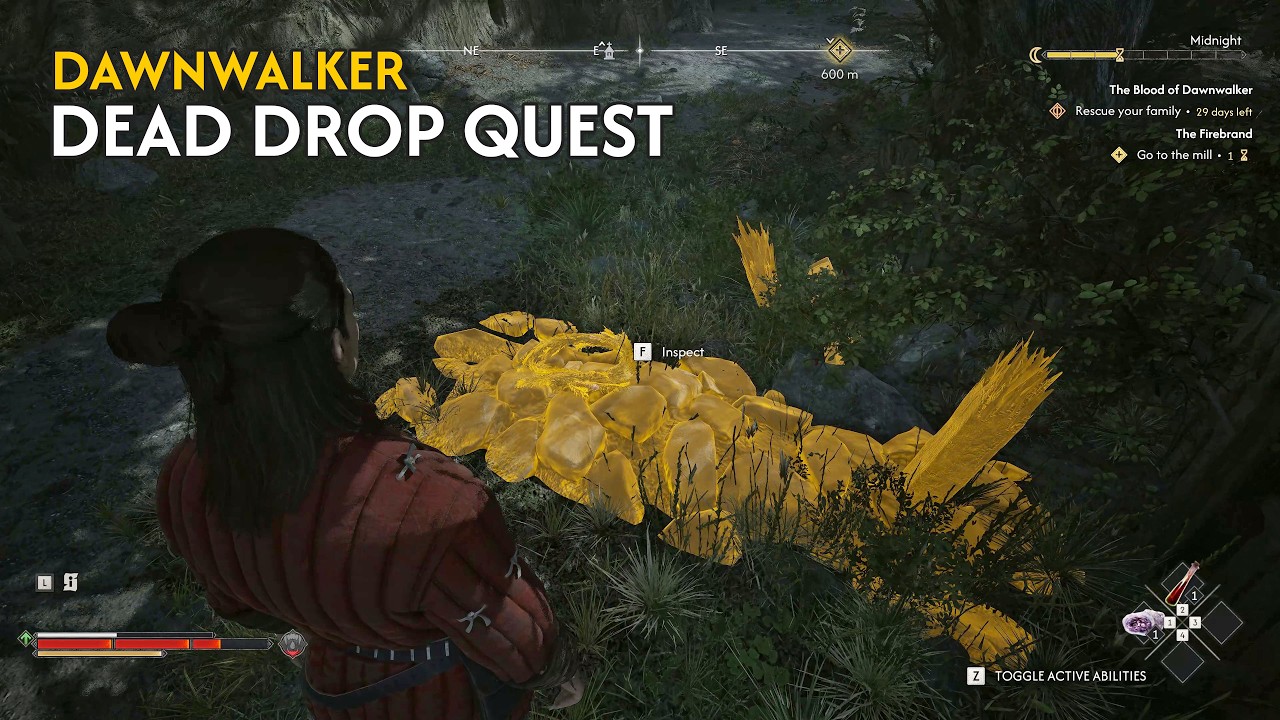
Locate the hidden rebel stash in the Dead Drop quest. Follow the secret markers across Laslea Glen to uncover valuable loot and resources for your journey.
08 Hidden Stash
A Hidden Stash buried under the marked tree, part of the "Dead Drop" quest.
09 Outlaw's Gorge Shrine
Discover the Outlaw's Gorge Shrine.
10 Bandit Camp
Take out the bandits and loot their bodies to pick up the "Broad Swing Manual". Gather the items scattered around the outside of the house as well. Inside, you will spot the "Bandits's Treasure Map: Laslea Glen" sitting on a table.
Bandits's Treasure Map: Laslea Glen Activity Walkthrough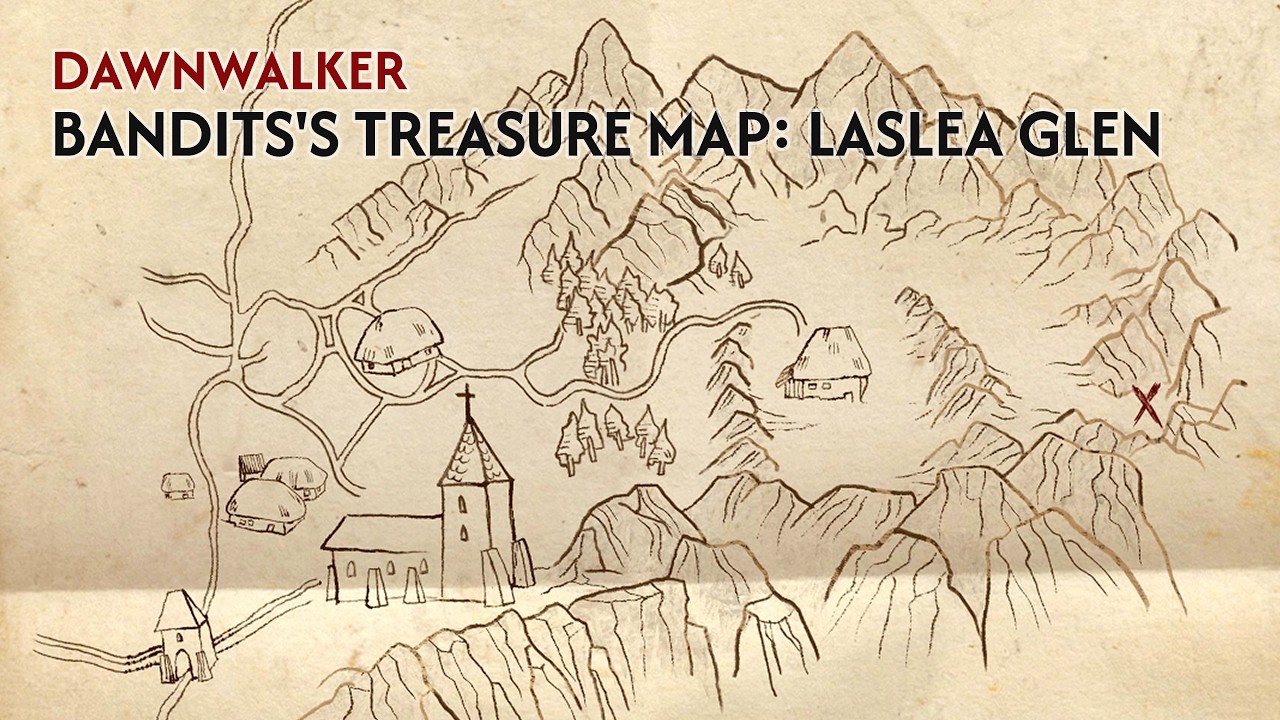
Solve the clues hidden within the Bandit's Treasure Map. This video pinpoints the exact digging location in Laslea Glen to claim your hidden gold and rare gear.
This map points the way to a buried stash. You can dig up the treasure at [11].
11 Bandits's Treasure Laslea Glen
This is the exact spot the "Bandits's Treasure Map: Laslea Glen" leads you to.
Kill the Bear. Grab the shovel sitting nearby and dig up the Treasure Chest. Inside, you will find a few items, including the Master Longsword Polished Long Cleaver.
Bear (Animal)

The Bear is a tough, aggressive enemy.
Years ago, Gremla's husband went missing. For three days men searched the woods, but found nothing. And then ... I found him in a bear's lair. His left arm was gone, ripped out, nowhere to be seen. His guts were scattered all over the place. The bear had left him like that, half-devoured, and saved the rest for later. It took me another two days to pluck up the courage and tell Gremla ...
Much time has passed since then, but I still believe that - unless there is no other option - trying to fight an angry bear is a terrible idea.
TYPE: Animal
12 Skeleton and Chest
Since you made it this far, head up to the ruins. You will find a skeleton and a chest holding some minor loot.
13 Plague Victim's Hut
You stumble upon the abandoned home of a plague victim. As you grab the loot outside, you hear strange noises coming from within. Drop inside through the broken roof and search the place. You will find the Figurine of St. Jude. Take it back to the church in Laslea.
Enter Not Quest Walkthrough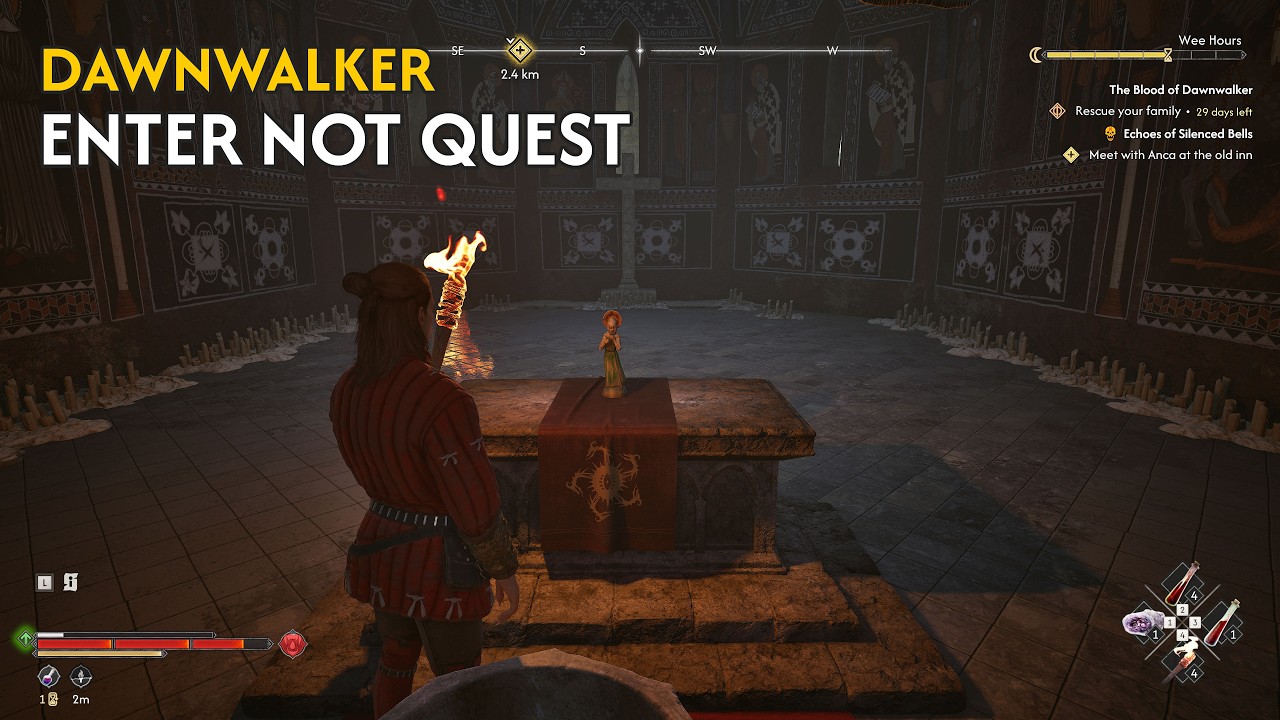
Navigate the dangerous restricted areas of Laslea Glen in the Enter Not quest. Discover how to bypass the guards and uncover the dark secrets hidden within the forbidden zone.
14 Church in Laslea
For "Enter Not" quest.
Place the Figurine of St. Jude on the church altar.
15 Ravenous Bear Cave
You will spot a Ravenous Bear lying outside the cave. Kill it. Check the corpse inside and read the Tattered Letter. It points you toward a secret cache marked with an "X" near the Northern Foothills Shrine. This is the "Into the Den" quest.
Into the Den Quest Walkthrough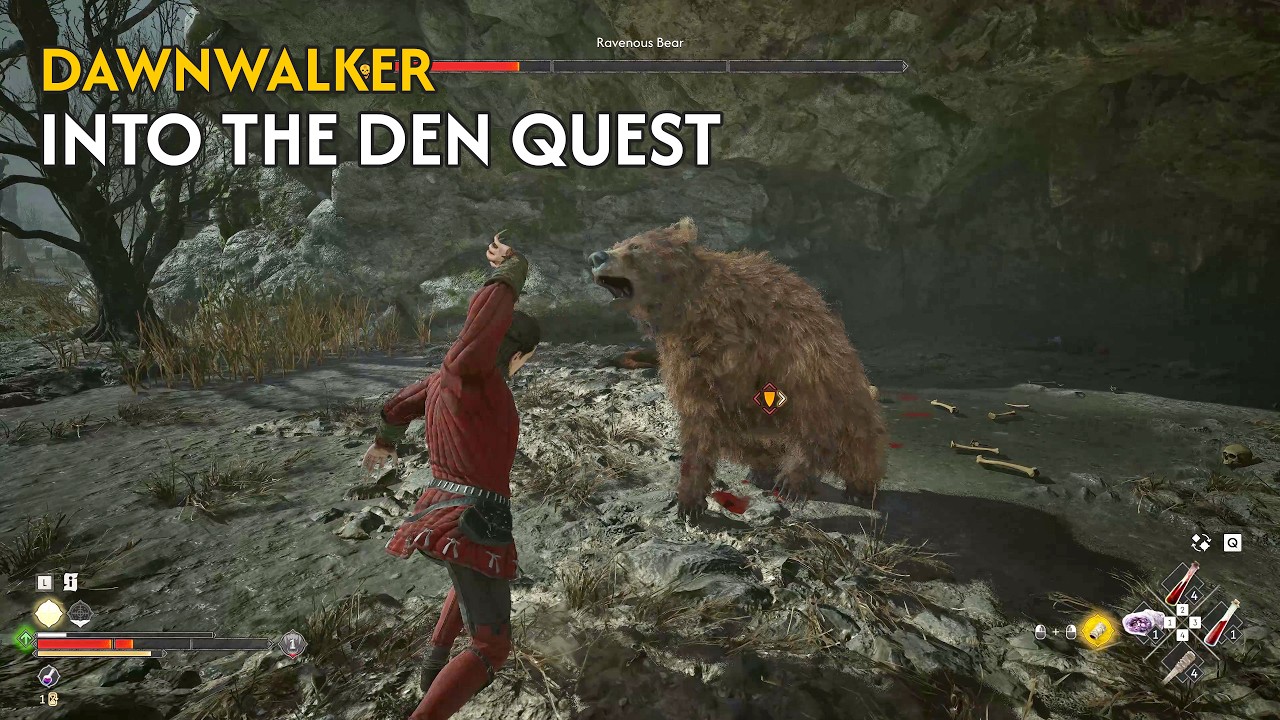
Track down the lost secret manumit cache and grab the loot stashed inside.
16 Northern Foothills Shrine
Discover the Northern Foothills Shrine.
17 Secret Cache
For "Into the Den" quest.
Inside the small hut, you will find a secret cache marked with an "X". Grab the loot and read the "Letter with a Tip".
18 Body under a fallen tree
Examine the dead body pinned under a fallen tree and follow the tracks heading west.
If a Tree Falls in a Forest ... Quest Walkthrough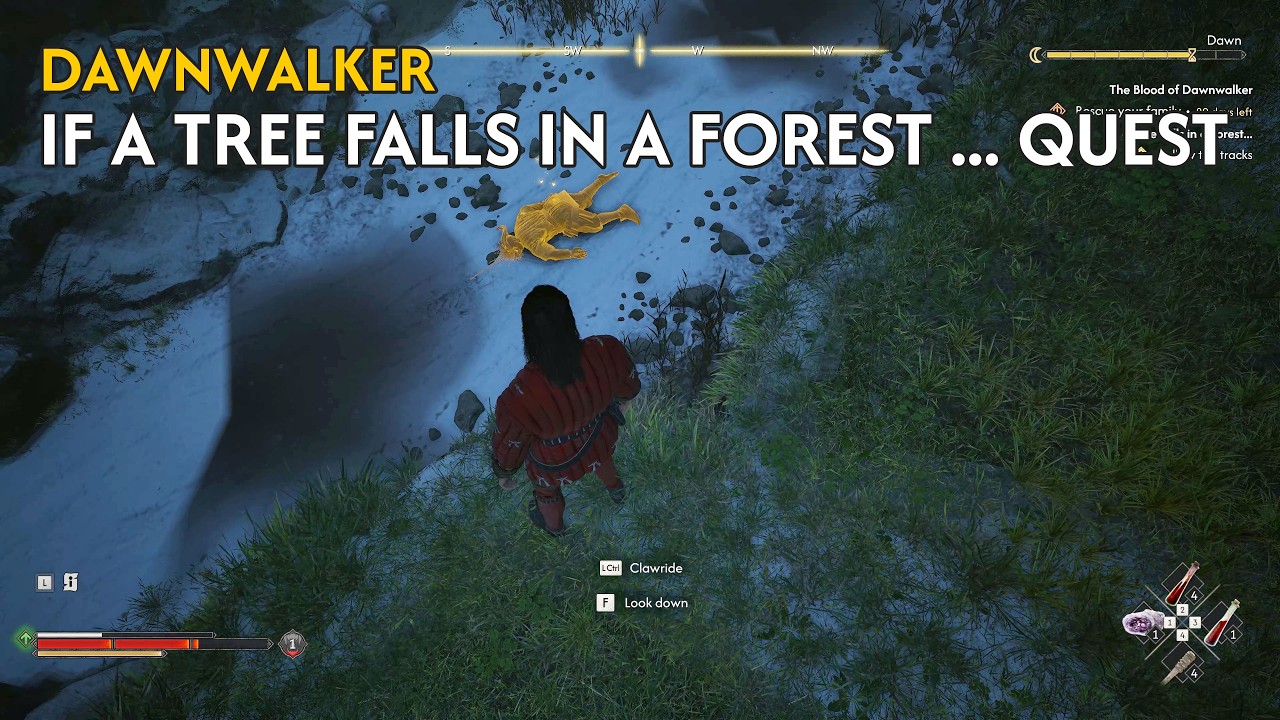
Solve the woodland mystery in the 'If a Tree Falls in a Forest...' quest. Watch how to track the clues, deal with the ambush, and claim your rewards safely without wasting resources.
19 Dead Soldier
For "If a Tree Falls in a Forest ..." quest.
At the bottom of the dry stream bed, you will find a dead soldier from Brencis's army. Collect the items.
20 Silver Mines Shrine
Discover (if you haven't discovered it yet) the Silver Mines Shrine.
21 From Above
The first time you step out through Laslea Gate, you will automatically pick up the From Above Activity. It points you toward the Briar Sloughs Watchtower just to the south.
If you are following this guide, it should be nearing the end of the night cycle right now. You can only climb the tower at night, so head over there right away, clear the Activity, and then come back to finish exploring Laslea Glen.
From Above Activity WalkthroughYou can find the details for this task on the Briar Sloughs Map.
22 Laslea Gate Shrine
Discover Laslea Gate Shrine.
23 Soldier Camp
You discover the first Soldier Camp.
Brencis's soldier camps tie directly into your primary goal of taking down Brencis and the Vrakhiri Court. Destroying these outposts weakens the Court and gets you closer to facing its members in combat.
Every camp is linked to a specific Court member: Bakir, Ambrus, or Xanthe.
Acting against the Vrakhiri Court raises your Infamy. You can track your Infamy level along with your discovered and completed tasks in the in-game Court interface tab. Just keep in mind that higher Infamy makes Brencis's soldiers much more aggressive when you encounter them.
Treat this as a completely separate line of activities, independent from the main Dawnwalker storyline.
Killing the soldiers in this specific camp clears the following task:
Ambrus's Leech-Pickers
 Ambrus's Leech-Pickers
Search the camp for documents to pick up three new tasks:
Ambrus's Collectors: Bounty of the Mire
Ambrus's Collectors: Wetland Helpers
Ambrus's Collectors: Unsavoury Solutions
Finally, grab the Character Development Manual from the chest.
24 Wind Chimes
Walking along the river, you spot Wind Chimes hanging from a tree, calling out to you.
A Pilgrimage for Power: Bear Trouble Quest Walkthrough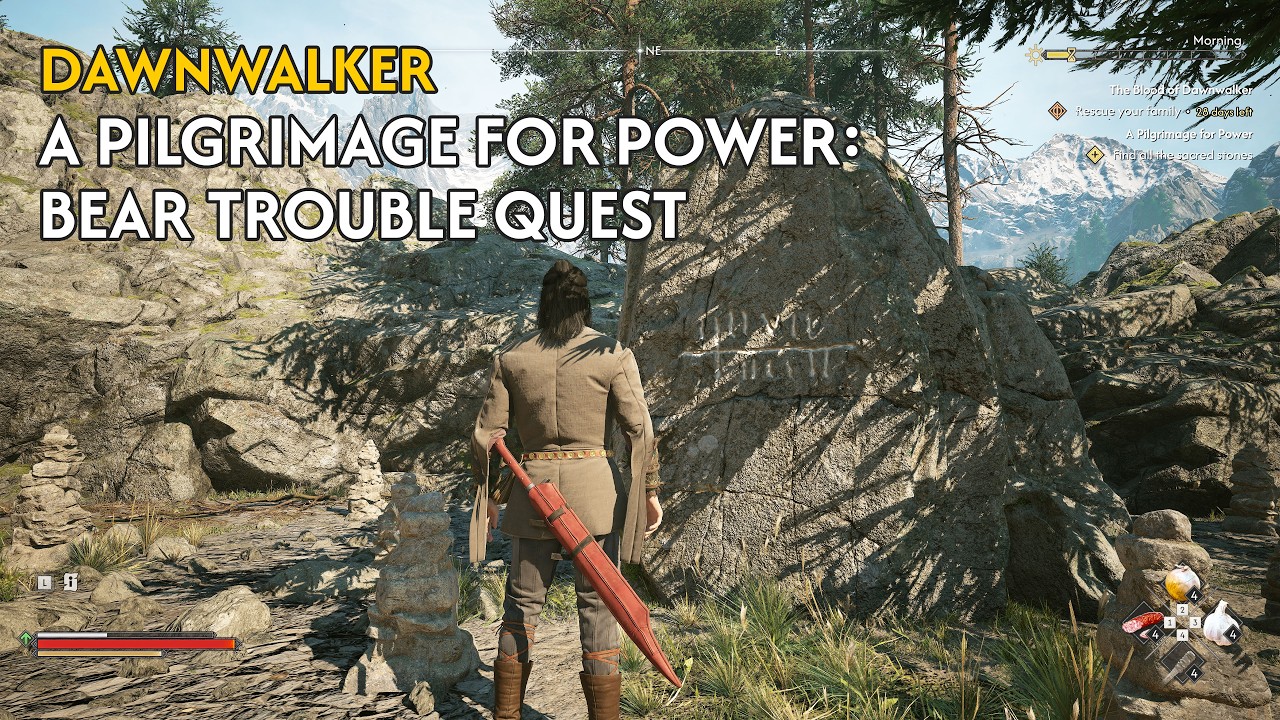
Find out how to track down the uriashi glyphs on the hill and grab the "Ravenous Flock Manual" to upgrade your Witchcraft abilities.
Use Focus Mode to follow the Wind Chimes up to the top of the hill.
25 Top of the hill
For A Pilgrimage for Power: Bear Trouble Quest.
- Kill the Bear.
- Examine the knife on the ground.
- Read the Runes on the Obelisk.
- Check the body in the nearby cave.
- You receive the "Ravenous Flock Manual" as a reward.
This starts the main quest in the series: "A Pilgrimage for Power" to find all the sacred stones.
A Pilgrimage for Power Quest WalkthroughGo to Briar Sloughs
You are done exploring the Laslea Glen Region and have finished everything available at this stage of the story. The main plot will bring you back here toward the end of the game.
For now, it is time to check out the next region: Briar Sloughs.
Start by heading to the Briar Sloughs Scout Tower just to the south, assuming you haven't cleared it yet.
The quest you should track right now is "The Firebrand," specifically the "Go to the mill" objective.